I was standing in the middle of my living room, surrounded by half-assembled bookshelves and a mounting sense of dread, staring at a piece of heavy-duty hardware like it was a complex psychological puzzle I couldn’t solve. We’ve been conditioned to think that DIY projects require brute strength or an innate “handyman” gene, but that is a total myth. Learning how to use a drill isn’t about overpowering the material; it’s about understanding the rhythm of the tool and the physics of the task at hand. When I finally stopped trying to muscle through the wood and started working with intention, everything changed.
In this guide, I’m stripping away the intimidating jargon to give you a practical, psychology-backed approach to mastering your tools. We aren’t just going to talk about buttons and bits; I’m going to show you how to build the mindful precision necessary to tackle any home project without the stress. You’ll learn the essential mechanics, how to choose the right settings for different surfaces, and most importantly, how to maintain steady control so you can stop feeling overwhelmed and start feeling empowered.
Table of Contents
- Step-by-Step Instructions
- The Art of Precision Selecting Drill Bit Types and Uses
- Safety as Mindfulness Essential Cordless Drill Safety Precautions
- Beyond the Manual: 5 Psychological Shifts for Drilling with Intention
- Finding Your Rhythm with the Drill
- Beyond the Mechanics: The Psychology of Precision
- From Tool to Transformation
- Frequently Asked Questions
Guide Overview
Tools & Supplies
- Power drill (Cordless or corded)
- Drill bit set (Various sizes for drilling and driving)
- Workpiece (Wood, metal, or plastic)
- Safety glasses (1 pair)
Step-by-Step Instructions
- 1. Before you even plug anything in, I want you to take a breath and assess your workspace. Just like setting up a morning routine, a cluttered environment leads to mental friction. Clear a path, ensure your material is stable on a workbench or steady surface, and make sure you have the right drill bit for the specific job at hand. Using the wrong bit is like trying to solve a complex psychological puzzle with the wrong framework—it’s just going to lead to unnecessary frustration.
- 2. Once you’ve picked your bit, secure it into the chuck by twisting the sleeve. If you’re using a keyless chuck, you can do this by hand, but make sure you feel that bit is perfectly centered. I always tell my clients that precision in the preparation phase saves so much time in the execution phase. Give it a quick tug to ensure it’s locked in tight; you don’t want any unwanted movement once you start applying pressure.
- 3. Now, let’s talk about positioning. Mark your spot with a small indentation—I find a nail or a center punch works best—so the bit doesn’t “walk” or slide across the surface when you start. Hold the drill with both hands if possible, keeping your body aligned with the direction of the force. It’s all about intentional stability; if you’re fighting the tool, you’re not working with it.
- 4. When you’re ready to begin, start slow. Apply a gentle, steady pressure and pull the trigger just enough to get the bit spinning. I like to think of this as the “onboarding” phase of a new habit—you don’t jump into the deep end immediately. Let the tool find its rhythm and bite into the material before you increase your speed or force.
- 5. As the hole begins to take shape, you can gradually increase the pressure, but remember to listen to the machine. If the drill starts to scream or the motor sounds strained, you’re pushing too hard or your bit is dull. True efficiency isn’t about brute force; it’s about finding that sweet spot where the tool does the heavy lifting for you.
- 6. Periodically pull the bit out slightly while it’s still spinning to clear out the debris. This is much like “clearing the cache” in your brain during a long workday; it prevents buildup and keeps the process running smoothly. If you’re drilling into wood, this helps prevent overheating and ensures a cleaner finish for your project.
- 7. Finally, once you’ve reached your desired depth, slowly release the trigger and let the bit come to a complete stop before pulling it out of the hole. Don’t just yank it out! Taking that extra second to conclude the task properly prevents damage to your work and keeps your momentum positive for the next step in your project.
The Art of Precision Selecting Drill Bit Types and Uses
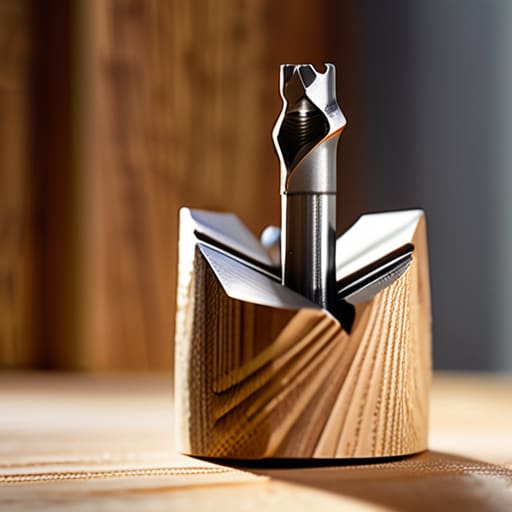
I’ve always found that the most common source of DIY frustration isn’t a lack of strength, but a mismatch in tools. Think of it like trying to write a poem with a thick permanent marker; you simply can’t achieve the nuance you desire. Understanding different drill bit types and uses is where the magic happens. If you’re working on a delicate bookshelf, a high-speed steel bit will glide through wood like butter, but if you’re tackling a brick patio, you’ll need a masonry bit to handle the grit. Using the wrong one doesn’t just ruin the material; it creates unnecessary friction and mental fatigue.
Precision also comes down to how you manage the machine’s power. I often tell my clients that efficiency is about calibration, not force. Before you start, take a moment for adjusting drill torque settings to match the resistance of your material. This prevents the bit from slipping and ensures you maintain control throughout the process. When you approach your project with this level of intentionality, you aren’t just making holes; you’re practicing a form of mindful craftsmanship that turns a chore into a rewarding flow state.
Safety as Mindfulness Essential Cordless Drill Safety Precautions
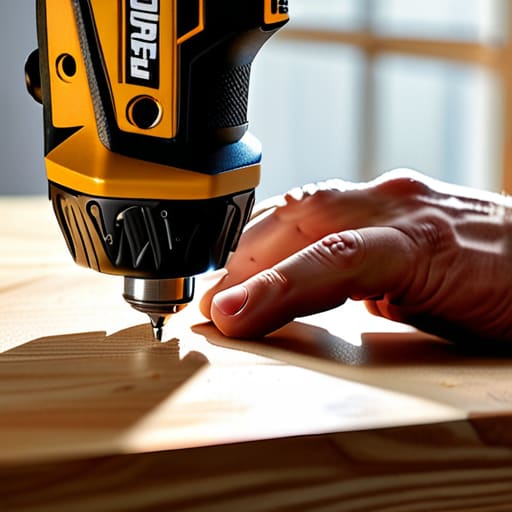
When I first started tackling home projects, I used to view safety as a tedious chore—a list of rules that slowed me down. But my background in psychology taught me something different: safety is actually a form of presence. When you’re practicing cordless drill safety precautions, you aren’t just avoiding injury; you are engaging in a mindful ritual that keeps you tethered to the task at hand. Before you even pull the trigger, take a moment to ground yourself. Check your workspace for clutter and ensure your eyes are protected. This isn’t about fear; it’s about creating a stable environment where your focus can truly flourish.
True efficiency also stems from technical awareness. For instance, I’ve learned that many mistakes happen when we rush through the setup. Instead of forcing a connection, pay close attention to your proper drill grip technique to maintain control over the tool’s torque. If you feel the drill slipping or vibrating unexpectedly, don’t fight it—pause, reset, and reassess your stance. By treating these precautions as a way to honor your craft, you transform a potentially chaotic moment into a disciplined flow of intentional action.
Beyond the Manual: 5 Psychological Shifts for Drilling with Intention
- Listen to the machine’s rhythm; instead of forcing the bit through a stubborn material, back off and let the motor do the work, treating the drill’s sound as a feedback loop for your own pacing.
- Mark your territory with intention by using a pilot hole; it’s much like setting a small, achievable goal before tackling a massive project—it prevents the “splintering” of your progress and keeps your path clear.
- Practice the “steady hand” mindfulness technique by engaging your core and stabilizing your elbow, ensuring that your physical tension doesn’t translate into erratic, uncontrolled movements.
- Respect the torque settings to avoid the burnout; just as we shouldn’t apply maximum mental effort to every trivial task, you shouldn’t use high torque for delicate work, or you’ll end up stripping your progress entirely.
- Treat your cleanup as a ritual of closure; clearing the sawdust and organizing your bits isn’t just chores—it’s how you signal to your brain that the task is complete, leaving you mentally ready for whatever comes next.
Finding Your Rhythm with the Drill
Treat every hole you make as an exercise in intention; by matching the right bit to the specific material, you avoid the mental friction of wasted effort and broken tools.
View safety protocols not as tedious chores, but as essential mindfulness practices that allow you to stay present and focused on the task at hand.
Remember that true mastery isn’t about how fast you can finish a project, but about the steady, controlled precision that ensures your work stands the test of time.
Beyond the Mechanics: The Psychology of Precision
“Using a drill isn’t just about applying force to a surface; it’s a lesson in intentionality. When we approach a task with the right tool and a steady hand, we aren’t just making a hole—we are practicing the art of focused presence, turning a simple mechanical action into a moment of purposeful progress.”
Ella Thompson
From Tool to Transformation
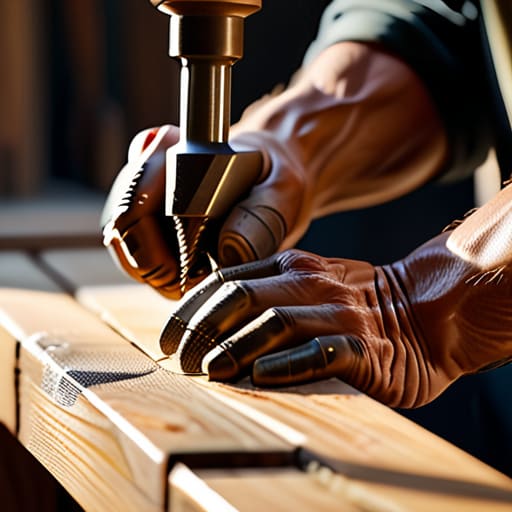
As we wrap up this guide, I want you to take a moment to look back at everything we’ve covered. We’ve moved beyond just pulling a trigger; we’ve explored the importance of selecting the right bit for the job, maintaining a mindful approach to safety, and understanding how precision is born from intentionality. Remember, using a drill isn’t just about brute force or speed—it’s about the synergy between your equipment and your focus. When you respect the mechanics of the tool and the physics of the material, you transition from simply making holes to creating something lasting. By mastering these fundamentals, you aren’t just completing a DIY project; you are practicing the art of purposeful action.
At the end of the day, I believe that the tools we use are merely extensions of our own intentions. Whether you are hanging a single picture frame or building a custom bookshelf from scratch, the goal is to approach the task with a sense of presence and calm. Don’t let the fear of a mistake slow your momentum; instead, let every screw and every pilot hole be a testament to your growing competence. Productivity, much like craftsmanship, is about finding your rhythm and doing what truly matters. So, pick up that drill, breathe through the process, and build a life—and a home—that reflects your unique vision.
Frequently Asked Questions
How can I tell if I’m applying too much pressure and risking damage to my material?
It’s easy to fall into the trap of “muscling through” a task, but in my experience, force is rarely the answer. If you feel the drill vibrating aggressively or notice the bit wandering from your mark, you’re pushing too hard. Listen to the machine, too—a high-pitched whine often means you’re stressing the motor. Instead, let the bit do the heavy lifting. True precision comes from steady, intentional pressure, not brute strength.
Is there a way to prevent the drill bit from "walking" or slipping when I'm starting a hole in a tough surface?
I know that feeling all too well—that sudden, jarring slip when you’re trying to be precise. It’s incredibly frustrating! To stop the “walking,” I always recommend making a small pilot hole first with a much smaller bit. If you don’t have one, try using a center punch to create a tiny indentation in the surface. It gives your bit a home to settle into, allowing you to work with intention rather than force.
How do I know when I've reached the right speed setting for different types of wood or metal without losing control?
Finding that “sweet spot” is all about sensory feedback. Think of it like finding your rhythm in a dance. For softer woods, you can pick up the pace, but for hardwoods or metal, slow down. If you feel the drill vibrating aggressively or hear a high-pitched scream, you’re pushing too hard. Listen to the tool; it’ll tell you when to ease off. Aim for steady, controlled pressure rather than raw speed to maintain your focus.
