I was standing in my garage last Saturday, staring at a once-beautiful mid-century modern chair that was now covered in a disastrous, blotchy mess of neon blue. I had rushed through the process, thinking that speed was the same as efficiency, only to realize I had wasted three cans of paint and an entire afternoon. Most people think that learning how to spray paint is just about pulling a trigger and moving your hand, but that’s a total myth. In reality, it’s a practice of intentional rhythm and patience—much like managing a busy schedule or perfecting a morning routine.
If you’ve ever felt overwhelmed by the sheer mess or the fear of a ruined project, I promise you aren’t alone. In this guide, I’m stripping away the fluff to give you a practical, psychology-backed approach to mastering your tools. We are going to dive into the essential prep work, the secret to achieving that flawless, even finish, and how to manage your time so you aren’t stuck in a cycle of endless touch-ups. Let’s turn that frustration into a streamlined, successful creative flow.
Table of Contents
- Step-by-Step Instructions
- Mastering Surface Preparation for a Meaningful Foundation
- Achieving a Smooth Finish Through Mindful Technique
- Beyond the Can: 5 Mindful Habits for a Flawless Result
- Finding Your Flow: My Three Golden Rules for Spray Painting
- ## The Rhythm of the Spray
- Finding Your Rhythm in the Final Result
- Frequently Asked Questions
Guide Overview
Tools & Supplies
- Spray paint cans and nozzles for application
- Drop cloths or newspaper to protect surfaces
- Sandpaper for smoothing the surface
- Masking tape for clean edges
- Spray paint (1-3 cans depending on size)
- Surface cleaner or degreaser (1 bottle)
- Primer (1 can if painting dark to light)
Step-by-Step Instructions
- 1. Before you even touch the spray can, you need to prepare your workspace and your item. I always tell my clients that preparation is the foundation of any successful project. Clear a well-ventilated area—ideally outdoors or in a garage with the door cracked—and lay down old newspapers or drop cloths to protect your surfaces. If you’re painting something smooth like metal or plastic, take a moment to lightly sand it with fine-grit sandpaper; this creates a “tooth” for the paint to grip, ensuring your hard work doesn’t just peel off a week later.
- 2. Next, it is time for the most crucial, yet often skipped, step: cleaning. Use a damp cloth with a bit of mild soap to remove every trace of dust, oil, or fingerprints from your object. Even a tiny smudge of skin oil can act as a barrier to adhesion, causing those frustrating little spots where the paint refuses to stick. Once it’s clean, let it dry completely—I usually use this time to grab a quick cup of tea and practice a little mindfulness before the “action” phase begins.
- 3. Now, let’s talk about the actual application. Grab your spray can and give it a vigorous shake for at least two full minutes. This isn’t just a suggestion; it’s essential for mixing the pigments and the propellant so you don’t end up with a patchy mess. When you’re ready to spray, hold the can about 8 to 12 inches away from your object. Instead of trying to cover the whole thing in one go, focus on applying thin, intentional layers. It’s much better to do three light coats than one heavy, dripping one.
- 4. As you begin your first pass, remember to move your hand in a steady, sweeping motion. Avoid starting or stopping the spray directly over your object, as this is a recipe for “pooling” or drips. I like to think of it like a rhythmic dance; start your spray in the air to the side, sweep across the surface, and release the trigger only once you’ve passed the other side. This keeps the coverage even and prevents those unsightly runs that can ruin your momentum.
- 5. Patience is your best friend during the drying process. After your first light coat is down, step back and let it dry according to the instructions on the can. I find that using a timer helps me stay disciplined rather than rushing in to add more too soon. If you apply a second coat while the first is still too “tacky,” you’ll likely disturb the surface and create a texture you’ll regret later. Respect the drying time to ensure a professional, smooth finish.
- 6. Once you have completed all your layers and the item is completely dry to the touch, take a moment to inspect your work. If you notice any tiny imperfections, don’t panic—it’s part of the process. You can lightly sand those spots down and apply one final, very light misting to smooth everything out. Finally, once it is fully cured, you can move your newly transformed piece into its rightful place, enjoying the sense of purposeful accomplishment that comes from a job well done.
Mastering Surface Preparation for a Meaningful Foundation
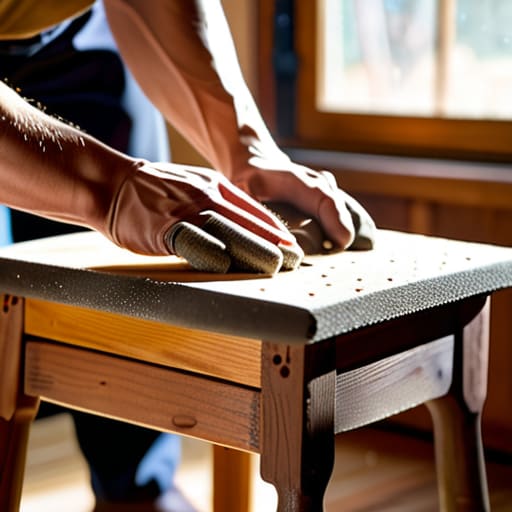
I’ve always believed that the secret to any successful endeavor lies in the groundwork you lay before the real work even begins. In my psychology studies, we often talked about how our environment shapes our behavior, and the same applies to your DIY projects. If you rush straight into the color, you’re essentially building on sand. True success in spray paint surface preparation comes from a place of patience. I like to think of it as setting an intention; you aren’t just cleaning a surface, you are creating the mental and physical space for a flawless result. Take the time to sand down any imperfections and wipe away every speck of dust. It might feel tedious, but that discipline is exactly what leads to achieving a smooth finish that looks professional rather than rushed.
Don’t forget that your foundation also includes protection. Just as I use my vintage hourglasses to remind myself to slow down, I use a high-quality spray painting primer and sealer to ensure my hard work actually lasts. A good primer acts as the bridge between your object and your vision, preventing the paint from peeling or reacting poorly with the material. It’s about doing it right the first time so you can truly enjoy the outcome without the stress of constant touch-ups.
Achieving a Smooth Finish Through Mindful Technique
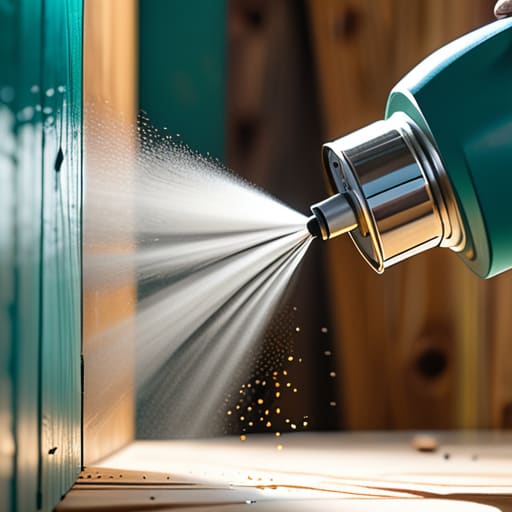
Once you’ve mastered that foundational preparation, it’s time to move into the actual application. I often tell my clients that the secret to a professional result isn’t just in the tools, but in your rhythm. When I’m working on a project, I find that treating the spray can like a metronome helps me maintain a consistent distance. If you move too slowly or hold the can too close, you’ll end up preventing spray paint drips becomes an uphill battle against gravity. Instead, aim for steady, sweeping motions that overlap slightly with each pass, ensuring the coverage is even and intentional rather than rushed.
I also can’t stress enough how much the quality of your materials influences your mental state during a project. Using the best spray paint for DIY projects—one with a fine mist and high pigment load—really minimizes the frustration of uneven patches. If you find yourself feeling rushed or impatient, take a moment to look at one of my vintage hourglasses; let the time pass, breathe, and remember that patience is a productivity tool. A smooth, beautiful finish is always the result of steady, mindful layers.
Beyond the Can: 5 Mindful Habits for a Flawless Result
- Respect the Environment: Before you even crack the seal on a can, take a moment to assess your workspace. Just like setting up a dedicated zone for my bullet journaling, your spray painting needs a controlled, well-ventilated area free from wind and dust to ensure your focus—and your finish—remains undisturbed.
- Test Your Rhythm: Every spray can has its own unique “personality” and pressure. I always recommend doing a quick test spray on a piece of scrap material first; it’s like a warm-up for your brain, allowing you to find that perfect, steady cadence before you commit to your main project.
- Avoid the “More is Better” Trap: It’s tempting to try and cover a surface in one heavy pass, but that’s a recipe for drips and frustration. Think of it like building a habit: small, consistent, light layers are far more effective and sustainable than trying to force a massive change all at once.
- Mind the Distance: Keep your can at a consistent distance from the object—usually about 6 to 10 inches. If you get too close, you’ll flood the surface; too far, and you’ll lose control. Maintaining this spatial awareness is key to achieving that professional, even glow.
- Embrace the Drying Gap: This is the hardest part for my fellow high-achievers, but patience is a productivity tool. Don’t rush the drying process by touching the surface too early. Respect the time it needs to set, much like how I use my vintage hourglasses to remind myself that some things simply cannot be hurried.
Finding Your Flow: My Three Golden Rules for Spray Painting
Remember that preparation isn’t a chore to rush through; it’s the psychological foundation of your project. When you invest time in cleaning and sanding, you’re actually setting your mind up for a much calmer, more intentional painting process.
Resist the urge to chase immediate perfection by trying to cover everything in one go. Much like building a new habit, a great finish comes from small, consistent, and intentional layers rather than one overwhelming burst of effort.
Use the process as a mindfulness practice rather than just a task on your to-do list. By focusing on your steady hand and the rhythmic movement of the spray, you turn a simple DIY project into a moment of purposeful, creative flow.
## The Rhythm of the Spray
“Spray painting isn’t just about the pigment; it’s about finding your flow. If you rush the movement or try to force the coverage, you’ll see the friction in the finish. True mastery comes when you treat every pass as an intentional, rhythmic motion—much like how we approach our most important daily habits.”
Ella Thompson
Finding Your Rhythm in the Final Result
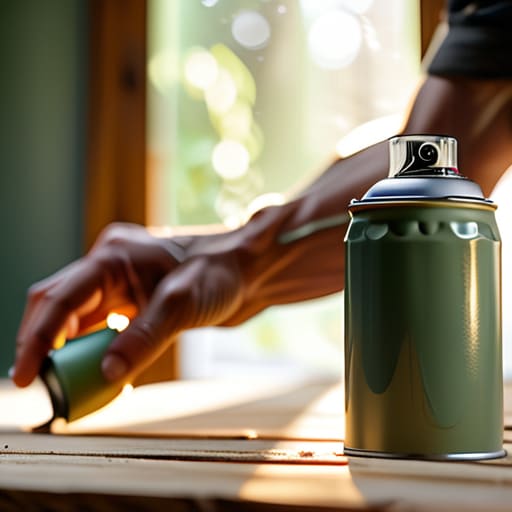
As you step back to survey your work, remember that a successful spray painting project is built on the small, intentional choices you made along the way. We’ve covered how a meticulous surface preparation creates the necessary foundation, and how maintaining a steady, mindful movement ensures that your finish remains smooth rather than rushed. It isn’t just about the pigment hitting the surface; it’s about the patience you practiced during those repetitive strokes and the discipline you showed in layering your colors. When you treat the process as a series of focused steps rather than a race to the finish line, the quality of your work naturally reflects that intentionality and care.
Ultimately, I hope this project becomes more than just a DIY task on your to-do list. Whether you were reviving an old piece of furniture or breathing new life into a small decor item, I want you to see this as a way to reclaim your space and your sense of agency. Productivity in our creative lives isn’t about how many things we can finish in an afternoon, but about the meaning we pour into the process. Take a moment to appreciate what you’ve created, breathe deeply, and remember that every masterpiece starts with the simple decision to do what truly matters.
Frequently Asked Questions
How do I know when I've applied enough coats without overdoing it and causing drips?
This is where my obsession with mindfulness really pays off! Instead of racing to the finish line, I treat each coat as a deliberate act. You’ll know you’ve hit the sweet spot when the color looks even and consistent, but still retains a slightly “wet” or translucent sheen. If you start seeing heavy saturation or pooling, stop immediately. It’s better to apply three intentional, thin layers than to rush and ruin your rhythm with one heavy, dripping mess.
What are the best ways to manage the inevitable cleanup so it doesn't feel like a second job?
We’ve all been there: you finish a project feeling inspired, only to be crushed by the mountain of messy tools waiting for you. To keep cleanup from becoming a second job, treat it like a ritual rather than a chore. I always set a timer for ten minutes immediately after my last coat dries. By grouping my cleanup into small, intentional bursts—like washing brushes while my tea steeps—I prevent the overwhelm from ever taking root.
How can I protect my workspace and prevent that dreaded overspray from drifting into areas I didn't intend to paint?
Think of your workspace like a focused mind; if you don’t set clear boundaries, chaos will inevitably creep in. To keep that overspray in check, I always treat masking as a non-negotiable ritual rather than an afterthought. Use painter’s tape and drop cloths to create a physical “buffer zone” around your project. By being intentional with your shielding now, you’re protecting your environment and ensuring your creative flow remains undisturbed by unintended messes.
