I was sitting on my living room floor last Tuesday, surrounded by a chaotic sea of expensive fabric scraps and tangled measuring tapes, staring at a window that felt completely naked. I had spent weeks scrolling through endless home decor feeds, convinced that I needed to drop a fortune on designer drapes just to make my space feel “finished.” But as I sat there, watching the light shift through my vintage hourglass, I realized that the pursuit of perfection was actually just a form of productive procrastination. We often think we need to buy our way into a beautiful home, but the truth is that creating your own diy curtains isn’t about achieving a Pinterest-perfect aesthetic—it’s about reclaiming your environment through intentional, mindful action.
In this guide, I’m stripping away the fluff and the intimidating jargon to show you how to approach this project with a sense of ease. I won’t promise you that you’ll become a master seamstress overnight, but I will give you a practical, step-by-step framework to create window treatments that actually reflect your personal style. We’re going to focus on smart fabric choices, efficient measuring techniques, and simple construction methods that respect both your time and your energy. Let’s stop overcomplicating our spaces and start building something meaningful together.
Table of Contents
- Step-by-Step Instructions
- Mastering Fabric Selection for Window Treatments That Transform
- Measuring Windows for Curtains to Honor Your Space
- Small Tweaks, Big Impact: My Top 5 Secrets for Professional-Looking DIY Curtains
- Making Your DIY Curtains Work for Your Life
- Designing with Intention
- Creating a Space That Truly Reflects You
- Frequently Asked Questions
Guide Overview
Tools & Supplies
- Fabric scissors for clean edges
- Sewing machine for stitching seams
- Measuring tape for accurate dimensions
- Pins or clips to hold fabric in place
- Iron for pressing hems
- Fabric (2-3 yards depending on window size)
- Thread (1 spool matching fabric color)
- Curtain tape or header tape (1 roll)
- Measuring tape (1 unit)
Step-by-Step Instructions
- 1. Before you even touch a pair of scissors, I want you to take a deep breath and measure your window twice. It’s so easy to get caught up in the excitement of a new project and rush into the cutting phase, but precision is what separates a DIY project that feels professional from one that just looks cluttered. Measure the width of your window and add about 1.5 to 2 times that amount to ensure you get those beautiful, lush folds that make a room feel truly intentional.
- 2. Next, grab your fabric and lay it out on a large, flat surface—I personally love using my dining room table after clearing away my planners. Once you have your fabric laid out, use tailor’s chalk to mark your cutting lines based on your measurements, making sure to account for hem allowances. I usually add an extra two inches at the bottom and an inch at the top; it might feel like extra work now, but it’s the secret to a polished finish that won’t fray the moment you hang them.
- 3. Now, it’s time to create those clean edges by pinning and sewing your hems. Start with the side hems by folding the fabric edges inward twice and pinning them securely in place. As I always tell my clients, small, consistent actions lead to the best results, so take your time with the sewing machine to ensure your lines are straight and your tension is just right.
- 4. Once your sides are set, move on to the top of the curtain to create your rod pocket. Fold the top edge down to your desired width—depending on whether you’re using a standard rod or a decorative one—and pin it carefully. This is where you’ll want to focus your mindfulness, treating the rhythmic movement of the sewing machine as a way to ground yourself in the task at hand.
- 5. After you’ve sewn the top and side hems, it’s time to tackle the bottom weight. Fold the bottom edge up to create a generous hem, which helps the fabric hang with a sense of grace and stability. A heavier hem at the bottom prevents the curtains from fluttering too wildly, giving your space that calm, structured energy I strive for in my own home.
- 6. With your fabric pieces ready, it’s time to hang them and see your vision come to life. Slide your curtain rod through the pockets you’ve created, and if you’re feeling a bit overwhelmed by the physical setup, remember that progress is a process. Once they are up, take a moment to step back, perhaps grab a cup of tea, and appreciate how this small, intentional change has transformed the flow of your room.
Mastering Fabric Selection for Window Treatments That Transform
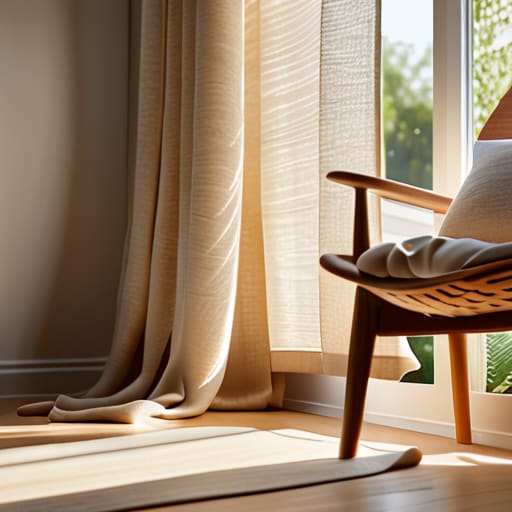
When I first started experimenting with home projects, I used to think that any piece of fabric would do. I’d grab whatever was on sale, only to realize later that the texture didn’t match the “vibe” of my room or, worse, it didn’t provide the privacy I needed. Choosing the right material is really about the psychology of your space; the weight and weave of a fabric can completely shift your mood from high-energy to calm and centered. When you’re diving into fabric selection for window treatments, think about light filtration first. A heavy velvet can create a cocoon-like sanctuary for deep work, while a breezy linen allows natural light to dance through, keeping your morning routine feeling bright and optimistic.
Don’t let the fear of wasted material hold you back, either. One of my favorite budget friendly home decor projects is repurposing high-quality remnants found at local upholstery shops. Just remember to prioritize the “hang”—the way a fabric drapes is what separates a professional look from a DIY mishap. If you’re working with something particularly delicate, take your time with a hemmed curtain edges tutorial to ensure the weight is distributed evenly, giving your windows that polished, intentional finish.
Measuring Windows for Curtains to Honor Your Space
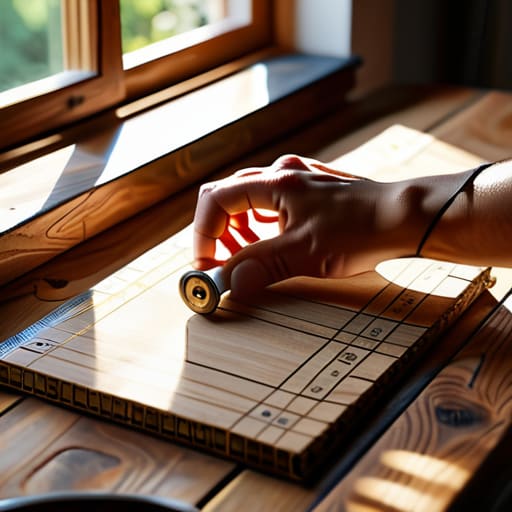
Before we even touch a pair of scissors, we need to talk about the foundation of any successful project: precision. I’ve seen so many people rush into measuring windows for curtains only to end up with panels that look like they’re shrinking or floating awkwardly mid-wall. To avoid that frustration, I always recommend measuring twice—and honestly, measuring a third time just to be safe. Start by measuring the width of your window frame, but then add about six to ten inches on each side. This creates that lush, high-end look that makes a room feel expansive rather than cramped.
It’s also vital to consider the “drop”—the vertical length. I love to hang my rods higher than the actual window frame to create the illusion of height, a little psychological trick to make even small rooms feel grand. If you’re working with a rental and need to explore hanging curtain rods without drilling, your measurements become even more critical to ensure tension rods are positioned perfectly. Take a deep breath, grab your metal tape measure, and treat this step as a moment of mindfulness. Precision now means peace of mind later.
Small Tweaks, Big Impact: My Top 5 Secrets for Professional-Looking DIY Curtains
- Don’t skimp on the hardware; a flimsy curtain rod can make even the most beautiful handmade fabric look cheap, so invest in a sturdy rod that matches the weight of your chosen material.
- Embrace the “double fullness” rule by purchasing at least twice the width of your window in fabric, because flat, skimpy curtains lack the cozy, high-end texture that truly makes a room feel intentional.
- Steer clear of the “one-and-done” mindset and remember that pressing your seams with a high-quality iron is the secret bridge between a “craft project” and a professional window treatment.
- Use weighted hem tape if you’re working with lighter fabrics; it helps the curtains hang with that graceful, heavy drape that signals quality and prevents them from fluttering awkwardly with every breeze.
- Think about the psychology of light by layering your DIY curtains with a sheer under-layer, allowing you to control the mood of your space from bright and energizing to soft and meditative.
Making Your DIY Curtains Work for Your Life
Prioritize intentionality over impulse; choosing fabrics that reflect your personal rhythm ensures your space supports your mental well-being rather than just adding visual noise.
Precision in measurement is the ultimate act of self-care for your home, preventing the frustration of ill-fitting decor and creating a sense of order in your environment.
Remember that the process of creating is just as vital as the result; use these DIY moments to practice mindfulness and reclaim your sense of agency over your surroundings.
Designing with Intention
“Creating your own curtains isn’t just about a quick home improvement project; it’s about reclaiming your environment and choosing pieces that actually reflect the rhythm of your life, rather than just filling a window.”
Ella Thompson
Creating a Space That Truly Reflects You
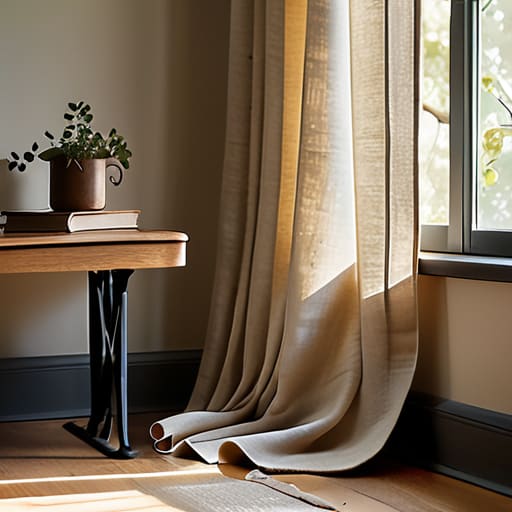
As we wrap up this journey of transforming your windows, I want you to take a moment to appreciate everything you’ve accomplished. From the meticulous process of measuring your frames to honor the architecture of your room, to the intentionality behind selecting fabrics that speak to your soul, you haven’t just “made curtains”—you have curated an environment. Remember that the success of this project lies in the details: choosing the right weight of textile, ensuring your measurements are precise, and trusting your unique aesthetic vision. By following these steps, you’ve moved beyond mere decoration and entered the realm of intentional living, where every element in your home serves a purpose and brings you a sense of calm.
At the end of the day, my goal is always to help you find your rhythm, and I hope this project has given you a sense of that flow. DIY projects like this are so much more than just home improvement; they are a way to reclaim your time and pour your energy into something that truly matters. Don’t let the fear of a crooked stitch or a slight imperfection stop you from creating something beautiful. Perfection is a myth that often gets in the way of progress. Instead, focus on the joy of creation and the peace that comes from living in a space that you built with your own two hands. You’ve got this!
Frequently Asked Questions
How do I choose the right hanging method if I don't want to drill permanent holes into my walls?
If you’re living in a rental or just want to protect your walls, don’t sweat the permanent damage. I always tell my clients that flexibility is key to a stress-free environment. You can use tension rods—they’re a lifesaver for recessed windows—or high-quality command hooks designed for heavy fabrics. Just make sure to check the weight capacity first. It’s all about finding a solution that honors your space without compromising your security.
What are some easy ways to add a professional-looking hem if I don't own a sewing machine?
If you’re staring at a pile of fabric without a sewing machine, don’t panic—you don’t need a studio to get professional results. I swear by iron-on hem tape (fusible web); it’s a total game-changer for clean, crisp lines. Just fold, press, and let the heat do the work. If you want something more tactile, a few well-placed fabric glue dots can work wonders. It’s all about intentionality, not expensive equipment.
How can I ensure my DIY curtains provide enough privacy without making my room feel too dark or heavy?
This is such a common struggle! I used to think privacy meant total blackout, but that often leaves a room feeling heavy and uninspired. To find that sweet spot, I recommend layering. Try a sheer linen curtain for soft, filtered light during the day, paired with a heavier fabric for evenings. Alternatively, look for “semi-sheer” weaves; they offer enough density to obscure the view while still letting the room breathe with natural light.
