I was staring at a kitchen counter covered in spilled soy wax and half-melted scent oils, feeling completely defeated by a “simple” DIY project that had turned into a chaotic mess. Most tutorials online make it seem like learning how to make candles is just a matter of melting stuff and pouring it into a jar, but they completely ignore the psychological friction of the process—the frustration of a wick that won’t stay centered or a scent that vanishes the moment you strike a match. I realized then that candle making isn’t just a craft; it’s a lesson in patience and precision that can either fuel your burnout or become your ultimate mindfulness ritual.
In this guide, I’m stripping away the fluff to give you a practical, no-nonsense roadmap for mastering this art. We aren’t just going to talk about supplies; we are going to focus on the intentional habits that ensure your first batch is actually successful. I’ll walk you through the science of scent throw and the steady rhythm of the pour, helping you transform a potentially messy hobby into a meaningful ritual of presence.
Table of Contents
- Step-by-Step Instructions
- Mastering the Natural Candle Making Process for Mindful Living
- Selecting Soy Wax Candle Making Supplies to Honor Your Environment
- Small Rituals for a Flawless Burn: My Top 5 Candle-Making Secrets
- Small Shifts for a More Intentional Practice
- The Rhythm of the Pour
- Lighting Your Path Forward
- Frequently Asked Questions
Guide Overview
Tools & Supplies
- Double boiler or heat-proof pitcher for melting wax
- Thermometer to monitor wax temperature
- Pouring pitcher for controlled pouring
- Scale for precise measurements
- Soy or paraffin wax (1-2 lbs)
- Cotton wicks (set of 10)
- Fragrance oils (1 oz)
- Candle jars or tins (4-6 units)
- Wick centering tools or clothespins
Step-by-Step Instructions
- 1. First, let’s gather our tools, but think of this as setting the stage rather than just a chore. You’ll need your wax (soy is my personal favorite for that clean burn), wicks, containers, a thermometer, and a double boiler setup. I always tell my clients that preparation is the foundation of any successful ritual, whether it’s a deep-work session or a creative hobby.
- 2. Once your workspace is clear, it’s time to melt the wax. Using a double boiler is crucial here because it allows you to control the temperature gently; you never want to rush the process or overheat the wax. I like to watch my vintage hourglasses while the wax melts, using that time to practice mindfulness and settle into the task ahead.
- 3. As the wax reaches its melting point, grab your thermometer to monitor the heat closely. This is where the science of psychology meets the art of making: being patient and precise prevents the wax from becoming brittle or scorched. Aim for that “sweet spot” temperature indicated on your specific wax packaging to ensure the most stable foundation.
- 4. While the wax is warming, prepare your containers by centering your wicks. I find that a tiny dot of hot glue or a wick sticker works wonders to keep everything in place. Remember, a straight wick isn’t just about aesthetics; it’s about ensuring an even burn so you don’t waste a single drop of your hard work.
- 5. Once your wax is melted and has cooled slightly to the recommended fragrance temperature, it’s time to add your scents. This is my favorite part—it’s incredibly sensory. Don’t just dump the oils in; stir them slowly and intentionally for at least two minutes. This ensures the fragrance molecules fully bind with the wax, giving you that perfect, calming aroma when you finally light it.
- 6. Now, carefully pour the liquid wax into your prepared containers. Do this in one steady, continuous motion to avoid creating air bubbles, which can disrupt the burn. I like to think of this step as pouring intention into a vessel; take a deep breath and let your movements be fluid and calm.
- 7. Finally, the hardest part: the wait. Leave your candles to cure in a cool, dry place, undisturbed. While it’s tempting to light them immediately, giving the wax time to fully set—sometimes up to a week for soy—is what transforms a simple hobby into a professional-grade ritual. Patience is a productivity tool, after all.
Mastering the Natural Candle Making Process for Mindful Living
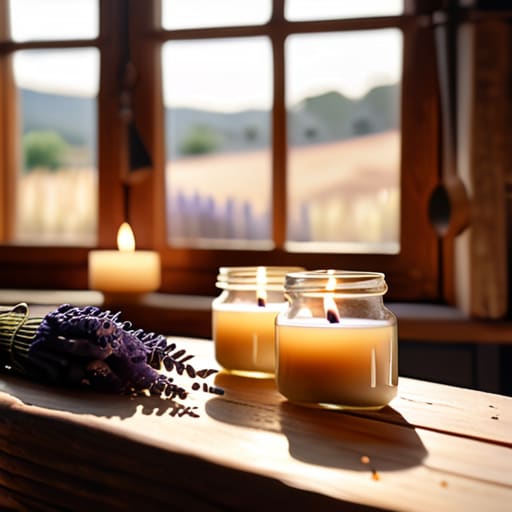
When I first started experimenting with this hobby, I realized that the real magic isn’t in the finished product, but in the rhythm of the craft itself. To truly embrace the natural candle making process, I recommend slowing down during the temperature checks. It’s tempting to rush, but checking your candle pouring temperature guide is a beautiful way to practice patience. Instead of viewing it as a technical chore, treat it as a moment of mindfulness—a way to ground yourself in the present before the wax settles into its final form.
I also found that my stress levels dropped significantly when I shifted my focus to the quality of my materials. Investing in high-quality soy wax candle making supplies isn’t just about a cleaner burn; it’s about the intention you set for your space. When you select specific essential oils for scented candles, you aren’t just adding a fragrance; you are curating an emotional atmosphere. This transition from a simple task to a sensory ritual is exactly how we turn a mundane afternoon into a powerful tool for mental clarity and well-being.
Selecting Soy Wax Candle Making Supplies to Honor Your Environment
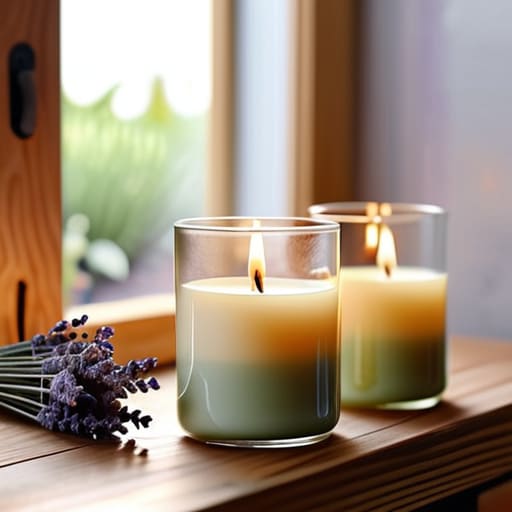
When I first started exploring this craft, I realized that the quality of your tools dictates the quality of your headspace. If you’re just starting out with candle making for beginners, it’s tempting to grab the cheapest kits available, but I encourage you to look deeper. I always tell my clients that efficiency begins with intentional selection. Choosing high-quality soy wax candle making supplies isn’t just about the final product; it’s about ensuring that the materials you bring into your sanctuary are as clean and sustainable as the habits you’re trying to build.
I’ve found that the most rewarding part of the natural candle making process is sourcing ingredients that align with your values. For instance, instead of reaching for synthetic fragrances that can feel jarring, try experimenting with pure essential oils for scented candles. There is something incredibly grounding about the scent of lavender or cedarwood as you work. Just remember to keep an eye on your candle pouring temperature guide to ensure those delicate oils don’t lose their therapeutic benefits. When your supplies are thoughtful, the entire experience feels less like a chore and more like a ritual.
Small Rituals for a Flawless Burn: My Top 5 Candle-Making Secrets
- Trust the thermometer over your gut; I know it’s tempting to just “eyeball” the wax, but precision is where the psychology of success meets the science of scent. If you don’t hit that specific temperature for adding your fragrance oils, you might find your beautiful creation lacks the very essence you worked so hard to cultivate.
- Patience is your greatest productivity tool during the cooling phase. It’s incredibly easy to want to rush the process and jump to the next task on your to-do list, but letting your candles set undisturbed in a draft-free zone is the only way to ensure a smooth, professional finish.
- Don’t overlook the “wick-to-jar” ratio; it’s all about finding that perfect equilibrium. A wick that’s too small will cause tunneling—leaving wasted wax behind—while one that’s too large can lead to a flame that’s far too intense, disrupting the calm atmosphere you’re trying to create.
- Treat your fragrance testing like a mindful experiment rather than a chore. Instead of just checking if it smells “good,” take a moment to observe how the scent evolves as the wax cools, noting how different concentrations affect the throw, much like how we observe our own moods throughout a busy day.
- Create a dedicated, clutter-free workspace to honor your creative process. Just as I use my vintage hourglasses to signal a transition into deep work, setting up a clean, organized station for your candle making helps reduce decision fatigue and allows you to focus entirely on the tactile joy of the craft.
Small Shifts for a More Intentional Practice
Remember that candle making is a lesson in patience; don’t let the urge to rush through the cooling or melting stages rob you of the mindful rhythm that makes the process so rewarding.
View your supply selection as an extension of your values, choosing eco-friendly materials like soy wax to ensure your creative output aligns with your personal commitment to the environment.
Treat the entire process not just as a way to create a product, but as a ritual of presence that allows you to slow down and reconnect with your own internal pace.
The Rhythm of the Pour
“Making a candle isn’t just a craft; it’s a lesson in patience and presence. When we slow down to master the temperature and the pour, we aren’t just creating a product—we are practicing the very mindfulness required to reclaim our time and our peace.”
Ella Thompson
Lighting Your Path Forward
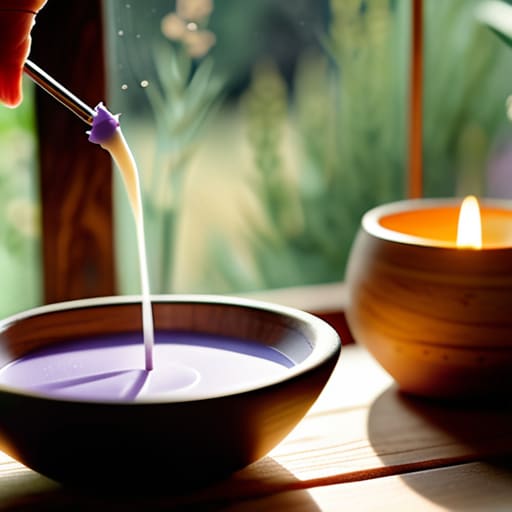
As we wrap up this journey of scent and flame, I want you to take a moment to reflect on everything you’ve just learned. From carefully selecting your eco-friendly soy wax to mastering the precise temperature required for that perfect pour, you haven’t just followed a recipe; you have engaged in a deliberate practice. By focusing on high-quality supplies and honoring the natural melting process, you’ve ensured that your finished product is more than just a decorative object. You have successfully integrated intentionality into every step, transforming a simple craft into a tangible expression of your personal values and environmental respect.
Ultimately, I hope these candles serve as a gentle reminder that productivity and peace are not mutually exclusive. Just as you carefully tended to the wick and the wax, remember to tend to your own rhythms in the rush of daily life. Let the soft glow of your handmade creations remind you that true fulfillment comes from the small, mindful rituals we weave into our schedules. Don’t feel pressured to rush to the next task; instead, light a candle, breathe deeply, and celebrate the fact that you have created something meaningful from scratch. You are doing more than just making candles—you are cultivating presence.
Frequently Asked Questions
How can I prevent my candles from tunneling or having an uneven surface as they burn?
There is nothing more frustrating than seeing your hard work melt into a deep, wasteful crater. To prevent tunneling, the golden rule is the “first burn”: always let your candle burn long enough for the wax pool to reach the edges. Think of it as training your candle’s memory. If you notice an uneven surface, a quick, gentle pass with a heat gun can smooth things out, turning a technical hiccup into a moment of mindful refinement.
What are the best ways to safely blend essential oils with soy wax without losing the scent?
When blending essential oils, timing is everything. I always tell my clients that precision is a form of mindfulness. To prevent the scent from evaporating, wait until your soy wax has cooled to about 180°F (82°C) before stirring in your oils. This “sweet spot” ensures the fragrance binds deeply with the wax rather than flashing off into the air. Stir gently but thoroughly for two minutes—it’s a small, intentional ritual that preserves the soul of your scent.
How do I know if I've chosen the right wick size to ensure a clean, soot-free burn?
Finding the perfect wick is a bit like finding your own rhythm; it’s all about balance. If your flame is dancing wildly or producing black smoke, your wick is likely too large, causing that dreaded soot. On the other hand, if the flame is tiny and struggling to melt the wax pool, it’s too small. Aim for a steady, calm flame that creates a smooth melt pool from edge to edge.
