I was sitting at my favorite mid-century modern desk last Tuesday, the one I spent months hunting for, when my keys slipped from my hand and left a jagged, ugly mark right across the grain. My immediate instinct wasn’t just frustration; it was that overwhelming sense of perfectionism crashing down. We often think that once a surface is marred, the item is essentially ruined or requires a massive, expensive overhaul, but that’s a total myth. Learning how to fix scratched wood isn’t about erasing the history of your belongings; it’s about a mindful, intentional process of restoration that respects the material.
In this guide, I’m stripping away the complicated jargon and the “expert” fluff to give you a realistic, psychology-backed approach to home maintenance. I’ll walk you through the exact, low-stress steps to tackle everything from superficial scuffs to deeper gouges using simple tools you likely already have. My goal is to show you that mastering how to fix scratched wood is less about being a master carpenter and more about focusing your energy on the small, restorative details that make your living space feel whole again.
Table of Contents
- Step-by-Step Instructions
- Mastering Wood Filler Application Techniques for Lasting Results
- The Art of Matching Wood Stain Colors for Seamless Harmony
- Beyond the Sandpaper: My Top 5 Pro-Tips for a Flawless Finish
- Small Repairs, Big Intentionality: My Final Thoughts
- The Psychology of Restoration
- Finding Peace in the Process
- Frequently Asked Questions
Guide Overview
Tools & Supplies
- Sandpaper (various grits for smoothing)
- Microfiber cloth (for cleaning dust)
- Wood filler spreader (for applying material)
- Wood filler (1 small container)
- Wood stain marker or touch-up pen (1 unit)
- Furniture wax or polish (1 small tin)
Step-by-Step Instructions
- 1. Before we dive into the heavy lifting, we need to assess the damage with a bit of psychological clarity. Take a moment to run your fingernail gently across the scratch; if your nail catches, you’re dealing with a deeper groove that needs more than a surface touch-up. If it’s just a light scuff, we can likely resolve this with a bit of gentle friction and a specialized wax or polish.
- 2. Once you’ve sized up the situation, start by cleaning the area thoroughly. I always keep a microfiber cloth handy for this because any lingering dust or oils can act as a barrier between your repair materials and the wood. Use a mild, non-abrasive cleaner to ensure the surface is a blank slate, allowing your next steps to truly bond with the grain.
- 3. For those pesky, shallow scratches that haven’t broken the finish, I find that a bit of “magic” works wonders. Grab a walnut—yes, a real, raw walnut—and rub the meat of the nut directly into the scratch. The natural oils act as a natural filler, darkening the scratch and helping it blend into the surrounding wood. It’s a small, tactile ritual that feels much more intentional than reaching for a chemical spray.
- 4. If the scratch is a bit deeper and more stubborn, it’s time to bring out the sandpaper. You’ll want to start with a very fine grit, something around 220 or higher, to avoid creating more damage. Always sand with the direction of the grain, never across it; think of it as smoothing out the path rather than fighting against the wood’s natural flow.
- 5. After sanding, you’ll likely notice the area looks a little duller than the rest of the piece. This is perfectly normal! To restore that lost luster, apply a wood touch-up marker or a small amount of wood stain that matches your furniture’s tone. Apply it in thin, controlled layers, much like how I approach my bullet journaling—it’s better to build up the color slowly than to overwhelm the surface all at once.
- 6. Once the color has settled and looks natural, we need to seal the deal. Apply a high-quality furniture wax or a matching clear coat to protect your hard work. Buff it out with a soft cloth in circular motions, focusing on creating a seamless transition between the repaired spot and the original finish.
- 7. Finally, give yourself a moment to step back and admire the result. I often keep one of my vintage hourglasses on my desk to remind me that meaningful progress takes patience. Don’t rush the drying process; let the wood settle and the finish cure fully before you put any heavy objects back on that surface.
Mastering Wood Filler Application Techniques for Lasting Results
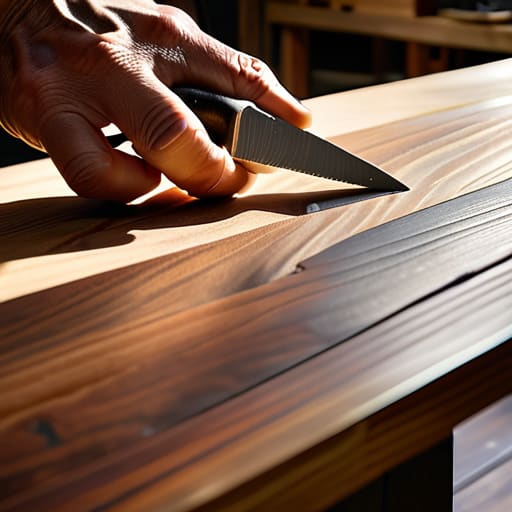
When it comes to the actual application, I’ve learned through plenty of trial and error that patience is your greatest ally. It’s tempting to go in heavy, thinking a thick layer will hide everything, but the secret to professional-looking wood filler application techniques is actually in the subtlety. I always suggest applying the filler slightly higher than the surrounding surface. This accounts for the inevitable shrinkage as it dries, ensuring you aren’t left with a dip that requires even more work later. Think of it like setting a foundation; you want to build up, not just smear it on.
Once you’ve let the filler cure completely, the real magic happens during the refinement stage. This is where you transition from “fixing” to truly restoring wood finish quality. I find that using a fine-grit sandpaper is essential for buffing out wood imperfections until the patch feels seamless to the touch. If you rush this part, you’ll likely see a visible ridge under the light. Take a moment, maybe flip over one of my vintage hourglasses to time your sanding intervals, and focus on the tactile sensation of the wood. Precision here is what separates a quick patch from a lasting restoration.
The Art of Matching Wood Stain Colors for Seamless Harmony
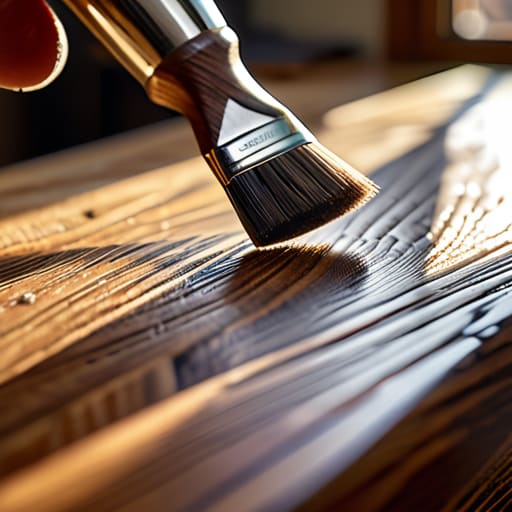
I’ve always found that the most rewarding part of any project is that moment when the repair finally disappears into the grain. However, I know from experience that getting there can feel a bit intimidating. When you’re matching wood stain colors, it’s easy to get caught up in the pressure of finding a “perfect” match, but I want you to remember that perfection is often the enemy of progress. Instead of aiming for a sterile, identical shade, try to look at the way light hits the existing surface. I like to test my stains on a small, inconspicuous area—perhaps the underside of a table leg—to see how the pigment interacts with the natural texture.
Think of this stage as a way of restoring wood finish through intuition rather than just following a formula. If your color is slightly too dark, don’t panic; you can often lighten it with a bit of mineral spirits. If it’s too light, a second thin coat can do wonders. It’s all about layering and patience. By treating the stain as a soft blend rather than a heavy mask, you ensure the repair feels like a natural part of the piece’s history rather than a sudden interruption.
Beyond the Sandpaper: My Top 5 Pro-Tips for a Flawless Finish
- Don’t rush the prep work; I’ve learned the hard way that if you don’t clear out every tiny speck of dust or old finish from the scratch, your filler will never truly bond with the wood.
- Trust your eyes, not just the bottle; when you’re matching stains, always test your color on a hidden corner of the furniture first, because lighting can completely change how a shade looks once it dries.
- Use the “less is more” philosophy with wood filler; it’s much easier to add a tiny bit more material than it is to sand down a huge, messy mound that you over-applied in an attempt to be efficient.
- Embrace the psychology of patience by letting each layer dry completely; I know it’s tempting to rush to the next step when you’re in a flow state, but forcing the process is exactly how you end up with uneven textures.
- Keep a “repair kit” organized and ready to go; having your specific grits of sandpaper and stain markers in one dedicated spot removes the mental friction of starting the project, making it feel like a mindful ritual rather than a chore.
Small Repairs, Big Intentionality: My Final Thoughts
Remember that fixing a scratch isn’t just about aesthetics; it’s about practicing the patience and mindfulness required to care for the things we value.
Don’t rush the process—whether you’re layering wood filler or blending stains, true quality comes from giving each step the focused attention it deserves.
View these minor imperfections as opportunities to refine your skills and reclaim the beauty of your environment, one intentional detail at a time.
The Psychology of Restoration
“When we take the time to mend a scratch in a piece of wood, we aren’t just fixing a surface; we are practicing the art of intentionality, learning that even the most visible imperfections can be integrated into a story that is much more beautiful and resilient than one that was never tested.”
Ella Thompson
Finding Peace in the Process
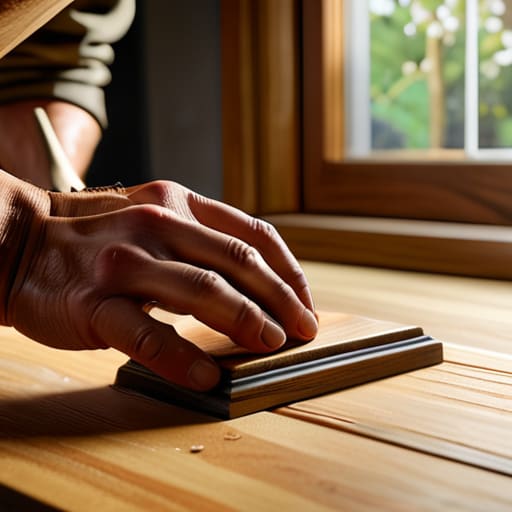
As we wrap up this journey of restoration, remember that fixing scratched wood is a multi-sensory process that requires both patience and precision. We’ve walked through the essential steps of cleaning the surface, the meticulous application of wood filler to bridge those gaps, and the delicate art of color matching to ensure your stain blends seamlessly with the original grain. It isn’t just about the physical labor; it’s about understanding how each layer builds upon the last to create a cohesive whole. When you take the time to master these small details, you aren’t just repairing a piece of furniture—you are ensuring that the integrity of your belongings remains intact for years to come.
In my own life, I’ve learned through my psychology studies that we often feel the urge to rush through “imperfections” just to get them out of sight. But there is something deeply restorative about slowing down to mend what is broken. Whether it’s a vintage coffee table or a cherished dining chair, these scratches are simply markers of a life lived. By choosing to repair rather than replace, you are practicing a form of intentional care that honors your history. I hope this guide empowers you to approach your home—and your daily rhythms—with a sense of grace, knowing that even the most weathered surfaces can be made beautiful again.
Frequently Asked Questions
How can I tell if a scratch is just a surface-level scuff or if it's deep enough that I actually need to use wood filler?
I always tell my clients that the best way to approach any problem is to pause and assess the depth before rushing into a solution. To check your scratch, run your fingernail gently across it. If it’s just a surface scuff, your nail will glide right over it. But if you feel a distinct “catch” or a dip, that’s your signal that the grain has been breached and it’s time for some wood filler.
Is it possible to fix these scratches without sanding down the entire piece of furniture and risking the original finish?
Oh, I hear you—the thought of sanding down an entire heirloom is enough to make anyone’s heart race! The short answer is: absolutely. In fact, I often advocate for “surgical” repairs over total resurfacing. By using localized techniques like color touch-up markers or targeted wood filler, you can address the damage while preserving the soul and history of the original finish. It’s all about precision and protecting what truly matters.
If I'm working with an antique or a piece with a very specific patina, how do I avoid making the repaired area look too "new" or obvious?
When you’re working with an antique, I always say: respect the history. To avoid that “too-new” look, avoid heavy-handed sanding. Instead, try “distressing” your repair. Once your stain is dry, lightly buff the area with fine steel wool or even a bit of sandpaper to mimic the natural wear of the surrounding wood. It’s about blending the new repair into the existing story of the piece, rather than trying to erase it.
