I was staring at a pile of cedar planks and a half-finished blueprint last Saturday, feeling that familiar, frantic itch of “doing too much” without actually accomplishing anything. We often fall into the trap of thinking that learning how to build a raised garden bed requires a massive, weekend-long overhaul of our entire lives and a garage full of expensive power tools. But after years of studying the psychology of habit formation, I’ve realized that the most sustainable projects aren’t the most complex ones—they are the ones that actually fit into our existing rhythms.
In this guide, I’m stripping away the overwhelming fluff to give you a streamlined, psychological approach to gardening. I won’t drown you in technical jargon or suggest you spend a fortune on specialized equipment; instead, I’ll show you how to approach this project with intentionality and ease. We are going to walk through the essential steps of selecting your materials, prepping your space, and assembling your bed in a way that feels rewarding rather than draining. Let’s build something that nurtures your soul without cluttering your schedule.
Table of Contents
- Step-by-Step Instructions
- Choosing Your Foundation Cedar vs Pressure Treated Lumber
- Intentional Dimensions Diy Raised Garden Bed Dimensions That Matter
- Cultivating Success: 5 Pro-Tips for a Garden That Works With You
- Cultivating Your Garden with Intention
- The Psychology of Growth
- Cultivating Your Space for Growth
- Frequently Asked Questions
Guide Overview
Tools & Supplies
- Drill/Driver for assembling the wood
- Measuring tape for accurate cuts
- Level to ensure flat ground
- Handsaw or miter saw for sizing lumber
- Untreated cedar or redwood boards (approx. 4-6 pieces)
- Wood screws (galvanized or exterior grade)
- Garden soil/compost mix (enough to fill volume)
- Landscape fabric or hardware cloth (to prevent weeds/pests)
Step-by-Step Instructions
- 1. Before you even touch a piece of lumber, I want you to sit down with your planner and map out your space. It’s tempting to just grab some wood and start hammering, but I’ve learned from my psychology background that a lack of intentionality leads to immediate decision fatigue. Decide on a location that gets plenty of sunlight and, more importantly, choose a size that actually fits your daily rhythm. If you build a massive bed that requires an hour of weeding every single day, you’re going to burn out before the first tomato ripens.
- 2. Next, let’s talk about sourcing your materials with a focus on long-term sustainability. I always suggest opting for cedar or redwood; they are naturally rot-resistant, which means you won’t be stuck in a cycle of constant repairs. When you’re at the hardware store, don’t get overwhelmed by the endless options. Pick high-quality, untreated wood so you aren’t introducing random chemicals into the soil where your food will grow. Think of this as investing in your future self.
- 3. Once you have your wood, it’s time to measure and cut. This is where my love for precision comes in handy. Lay your boards out on a flat surface to ensure your corners will align perfectly. I find that using a simple level during this stage is a total game-changer; there is nothing more frustrating than a lopsided garden bed that makes water drainage a nightmare. Take your time here—slow is smooth, and smooth is fast.
- 4. Now, let’s get to the assembly. You’ll want to use heavy-duty, exterior-grade screws to join your boards together. I highly recommend using corner posts—essentially square pieces of wood tucked into the inside corners—to give the structure much-needed structural integrity. As you drive each screw, take a breath and notice the tactile sensation of the work. It’s a wonderful way to practice a bit of grounded mindfulness while being productive.
- 5. Before you fill it with soil, you need to protect your investment and the earth beneath it. Line the bottom of your new bed with a layer of cardboard. This is a brilliant “low-effort, high-reward” hack; the cardboard suppresses weeds and eventually breaks down, enriching the soil as it goes. It’s a perfect example of working with nature rather than fighting against it.
- 6. The final, most crucial step is the “brain” of your garden: the soil mix. Don’t just grab whatever cheap dirt is sitting in a bag at the local shop. Instead, create a custom blend of compost, topsoil, and organic matter. I like to think of this as nourishing your foundation. If you provide your plants with a rich, nutrient-dense environment from day one, you’ll find that the actual maintenance becomes much more effortless and rewarding.
Choosing Your Foundation Cedar vs Pressure Treated Lumber
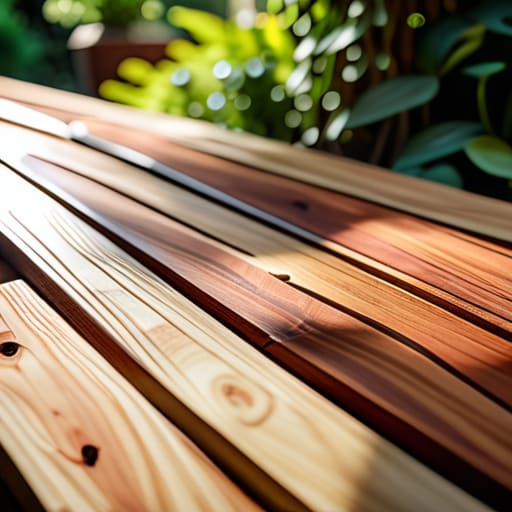
When you’re standing in the lumber aisle, the decision between cedar vs pressure treated lumber can feel surprisingly heavy. I remember my first attempt at gardening; I was so caught up in the “perfect” setup that I spent an hour staring at wood grain! If you’re looking for the gold standard, cedar is widely considered the best wood for raised beds because of its natural resistance to rot and insects. It’s a bit pricier, but it’s an investment in longevity that respects your future self’s time.
On the other hand, pressure-treated wood is a budget-friendly way to get growing quickly. While modern treatments are much safer than they used to be, some organic purists still prefer to avoid them. If you do go this route, I always suggest lining the interior with a food-grade barrier to create a little extra peace of mind. Ultimately, the goal isn’t to find the most expensive material, but to choose a foundation that supports your long-term rhythm without causing you unnecessary stress or constant repairs.
Intentional Dimensions Diy Raised Garden Bed Dimensions That Matter
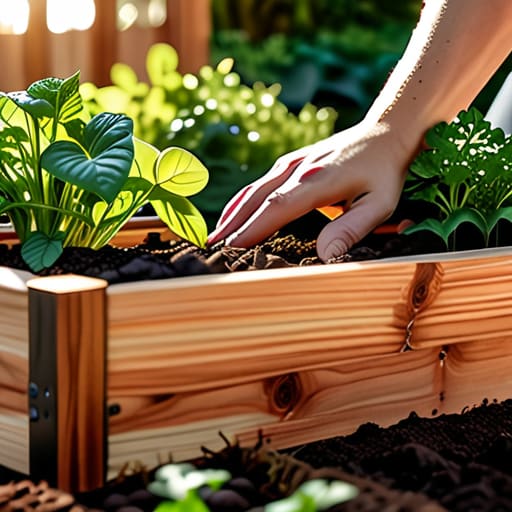
When we talk about productivity, we often focus on how much we can cram into a schedule, but I’ve learned that true efficiency comes from designing a space that actually works for your physical rhythm. The same applies to your garden. When deciding on your diy raised garden bed dimensions, don’t just aim for “big.” If you build a bed that is too wide, you’ll find yourself stepping into the soil to reach the center, which compacts the earth and defeats the whole purpose of having a raised structure. I always recommend keeping your width to about 3 or 4 feet maximum. This ensures you can reach every single plant from the perimeter without breaking your stride—or your back.
Think of your garden layout as a way to minimize friction in your daily routine. If you have to struggle to reach a tomato plant, you’re less likely to tend to it. I also suggest varying the depth based on what you’re actually planting; leafy greens don’t need the same deep reservoir as a heavy-feeding root vegetable. By choosing dimensions that prioritize accessibility, you aren’t just building a planter; you’re building a sustainable system that invites you to show up every day.
Cultivating Success: 5 Pro-Tips for a Garden That Works With You
- Don’t let “perfection paralysis” stop you before you even pick up a hammer; your first bed doesn’t need to be a masterpiece, it just needs to exist so you can start growing.
- Think about your physical rhythm by placing the bed at a height or location that won’t leave you feeling depleted; if you have to bend too far or walk too far, you won’t stick with the habit of tending to it.
- Use your garden as a mindfulness practice by layering organic matter—like compost and old leaves—to create a “living” foundation that does the heavy lifting of nutrient cycling for you.
- Protect your mental bandwidth by installing a simple drip irrigation system or a soaking hose right from the start, so “watering the plants” doesn’t become another daunting task on your daily to-do list.
- Leave room for error and evolution by choosing a design that allows you to add more beds later; growth is a process, and your garden should be able to expand alongside your new passions.
Cultivating Your Garden with Intention
Don’t let the technical details paralyze you; choose your materials based on longevity and your personal values so your garden becomes a sustainable sanctuary rather than a chore.
Design your bed dimensions around your own physical rhythm and reach, ensuring that tending to your plants feels like a mindful escape rather than a physical strain.
Remember that the goal isn’t to build the most complex garden possible, but to create a functional space that supports your desire to connect with nature and grow what truly nourishes you.
The Psychology of Growth
Building a raised garden bed isn’t just about assembling wood and soil; it’s about designing a dedicated space where you can practice the art of slow, intentional growth in a world that constantly demands we move faster.
Ella Thompson
Cultivating Your Space for Growth
Building this garden bed is about much more than just assembling wood and soil; it’s about creating a dedicated space for something meaningful to grow. We’ve walked through the essential decisions, from selecting the right materials like cedar to ensuring your dimensions actually work with your body rather than against it. By focusing on a solid foundation and intentional measurements, you’ve moved past the overwhelming stage of “what if” and into the practical reality of “how to.” You’ve laid the groundwork, quite literally, to ensure that your effort yields a harvest that is both sustainable and rewarding.
As you step back to look at your finished project, I want you to remember why you started this in the first place. In my own life, I’ve learned that the most productive things we do are often the ones that allow us to reconnect with the earth and slow down our internal clocks. This garden bed isn’t just a DIY project; it is a living commitment to your own well-being and a ritual of patience. Don’t worry about having the perfect garden on day one—just focus on nurturing what you’ve planted and enjoying the rhythm of the seasons.
Frequently Asked Questions
How much soil do I actually need to order so I'm not left with a half-empty bed or a mountain of leftover dirt?
The “math anxiety” is real, but don’t let it stall your momentum. To avoid that dreaded mountain of leftover dirt, just remember: volume is your friend. Multiply your bed’s length by width by depth (in feet) to get the cubic footage. Since most soil is sold by the cubic yard, divide that number by 27. I always suggest ordering just a tiny bit extra—about 10%—to account for settling. It’s better to have a little extra mulch than a shallow garden.
Should I line the bottom of my new bed with cardboard or hardware cloth to keep weeds and pests from hijacking my hard work?
Think of this as setting the boundaries for your garden’s ecosystem. If you’re battling aggressive weeds, go with thick, non-glossy cardboard; it smothers them while eventually decomposing into organic matter, feeding your soil. However, if you have hungry gophers or moles eyeing your roots, you’ll need hardware cloth. Personally, I love a layered approach: hardware cloth for structural defense, topped with cardboard to manage the weeds. It’s all about protecting your intentionality.
How can I make sure my garden bed stays level and doesn't start sinking or shifting after the first big rain?
There is nothing more frustrating than seeing your hard work literally sink into the mud after a storm. To prevent that, don’t just set the wood on top of the grass. Dig a shallow trench to seat your frame directly onto the soil, and—this is the psychological game-changer—layer your base with heavy gravel or coarse sand first. This creates a stable, well-draining foundation that keeps your bed anchored and level, no matter how hard it pours.
