I was staring at a pile of cedar scraps and a half-finished blueprint last Saturday, feeling that familiar, overwhelming sense of “project paralysis.” We’ve all been there—you decide you want to connect with nature, but suddenly you’re spiraling into a rabbit hole of expensive power tools and complex architectural designs that feel more like a chore than a hobby. Here is the truth: learning how to build a birdhouse shouldn’t feel like a high-stakes engineering exam. It’s not about achieving perfection or having a workshop full of professional-grade gadgets; it’s about the intentional act of creating a small, meaningful sanctuary for the world around you.
In this guide, I’m stripping away the fluff and the intimidating jargon to give you a streamlined, psychological approach to crafting. I’ll walk you through the essential materials you actually need, the most efficient assembly steps to avoid burnout, and how to choose a design that truly fits your space. My goal isn’t to turn you into a master carpenter overnight, but to show you how to master the process without the stress. Let’s stop overthinking and start building something that actually matters.
Table of Contents
- Step-by-Step Instructions
- Selecting the Best Wood for Birdhouses and Lasting Connection
- Mastering Essential Woodworking Tools for Birdhouses and Mindful Craft
- Small Shifts for a Successful Build: My Top 5 Tips for Mindful Crafting
- Finding Your Rhythm in the Workshop
- Finding Rhythm in the Woodwork
- Finding Your Rhythm in the Final Details
- Frequently Asked Questions
Guide Overview
Tools & Supplies
- Handsaw or Miter saw for cutting wood
- Hammer for assembling pieces
- Drill with 1.5-inch spade bit for entrance hole
- Measuring tape for accurate dimensions
- Cedar or pine board (1" x 6" x 4')
- Galvanized nails (small box)
- Wood glue (waterproof)
Step-by-Step Instructions
- 1. Before you even touch a saw, I want you to sit down with a piece of paper—maybe even one of my favorite bullet journal layouts—and map out your dimensions. You don’t need a complex blueprint, but knowing exactly how much cedar or pine you need prevents that frantic, mid-project trip to the hardware store that completely shatters your flow.
- 2. Once you have your measurements, it’s time to start cutting. I always tell my clients that “measure twice, cut once” isn’t just a cliché; it’s a psychological safeguard against the frustration of wasted materials. Take your time with the saw, focusing on the rhythm of the movement, and treat this as a mindful practice rather than just a chore.
- 3. Now, let’s talk about the entrance hole. This is the most critical part of the birdhouse’s “personality,” and you’ll want to use a drill with a spade bit to create a clean opening. Make sure the size of the hole is specific to the species you want to attract, because a hole that’s too big might invite unwanted guests who will disrupt the peace of your feathered neighbors.
- 4. As you begin assembling the walls, use galvanized nails or exterior-grade screws to ensure the structure can withstand the elements. I find that using a bit of wood glue along the seams acts as a great buffer against time, helping the house stay sturdy even when the seasons start to shift.
- 5. Don’t forget to add a few small drainage holes in the bottom and some ventilation gaps near the top. It might seem like a tiny detail, but creating a breathable environment is what separates a cluttered, stressful space from one that is truly functional and inviting.
- 6. Finally, instead of reaching for a heavy coat of toxic paint, I recommend leaving the wood natural or using a light, non-toxic stain. This keeps the project authentic and grounded, allowing the birdhouse to blend seamlessly into your garden while you sit back and observe the results of your intentional work.
Selecting the Best Wood for Birdhouses and Lasting Connection
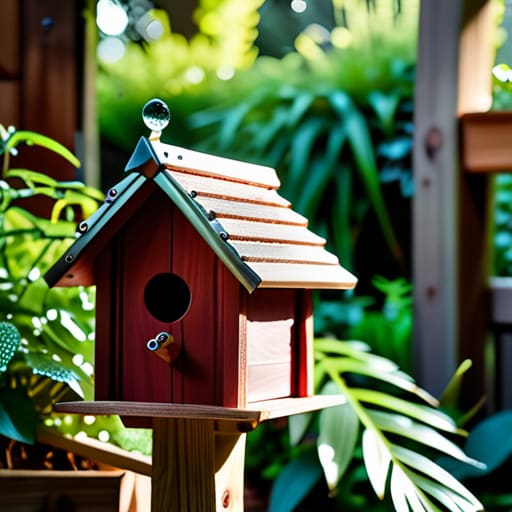
When I first started diving into the psychology of focus, I realized that the quality of our environment dictates the quality of our output. The same principle applies to your backyard sanctuary. Choosing the best wood for birdhouses isn’t just a technical step; it’s about setting a foundation that lasts. I always suggest sticking to untreated cedar or redwood. These woods are naturally resistant to decay, meaning you won’t need to worry about protecting birdhouses from weather with toxic paints or stains that could inadvertently harm the very creatures you’re trying to invite in.
I remember my first attempt at a project; I was so eager to get started that I grabbed whatever scrap pine I had lying around. Within a single season, it was warping and splitting. It was a lesson in intentionality: if you want a lasting connection with nature, you have to respect the materials. Instead of rushing, take a moment to select a sturdy, weather-resistant timber. This small investment in quality ensures that your hard work survives the elements, allowing you to sit back with a cup of tea and watch your new feathered neighbors settle in for years to come.
Mastering Essential Woodworking Tools for Birdhouses and Mindful Craft
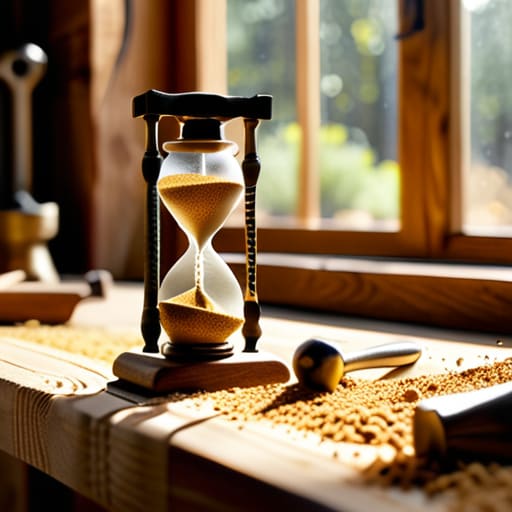
When you step into the workshop, it’s easy to feel overwhelmed by the sheer amount of gear available. I used to think I needed a professional-grade setup to be “productive,” but I’ve learned that intentionality beats inventory every single time. For this project, you really only need a handful of reliable woodworking tools for birdhouses: a sharp handsaw, a hammer, a drill, and a measuring tape. Instead of rushing through the assembly, I like to set one of my vintage hourglasses on the workbench. It reminds me that the quality of the cut matters more than how fast I can finish the task.
As you move from cutting to assembly, pay close attention to the precision of your measurements. If you are aiming for specific species, like designing birdhouse dimensions for bluebirds, even a tiny error in the entrance hole can change everything for your feathered guests. Once you start attaching the birdhouse roof, take a breath and focus on the tactile sensation of the wood. This isn’t just about construction; it’s a chance to practice mindfulness through movement. When we slow down, we build better things.
Small Shifts for a Successful Build: My Top 5 Tips for Mindful Crafting
- Prioritize the birds over your aesthetics. It’s tempting to paint everything in bright, trendy colors, but remember that a natural finish or muted tones actually help your new neighbors feel safe and secure from predators.
- Don’t obsess over perfection in every joint. I used to get so caught up in making every edge seamless, but in woodworking—just like in life—a little bit of character doesn’t compromise the structural integrity, and it actually makes the piece feel more human.
- Plan your workspace to minimize “decision fatigue.” Before you even pick up a saw, clear your desk and lay out only the tools you need for the current step; having a mountain of clutter around you will only drain your mental energy before you’ve even started.
- Build in “breathing room” for the design. Always include a few small drainage holes in the bottom and ventilation gaps near the top; it’s a great reminder that even the best-laid plans need a little space to circulate and stay healthy.
- Embrace the “flow state” by setting a timer. Instead of looking at the whole project as one daunting mountain, use a small hourglass to focus on one specific task—like sanding or measuring—for twenty minutes at a time to keep your momentum steady without the burnout.
Finding Your Rhythm in the Workshop
Focus on the quality of your connection with the materials rather than just racing to the finish line; a birdhouse built with intention is far more rewarding than one rushed through a checklist.
Don’t let “gear envy” stall your progress—master the few essential tools you already have before cluttering your workspace with every gadget on the shelf.
Choose your wood based on longevity and the specific needs of your local birds, ensuring that your effort creates a sustainable sanctuary rather than a temporary fix.
Finding Rhythm in the Woodwork
Building a birdhouse isn’t just about following a blueprint or checking off a list of tools; it’s about slowing down enough to realize that the quality of your focus is just as important as the quality of the cedar you choose.
Ella Thompson
Finding Your Rhythm in the Final Details
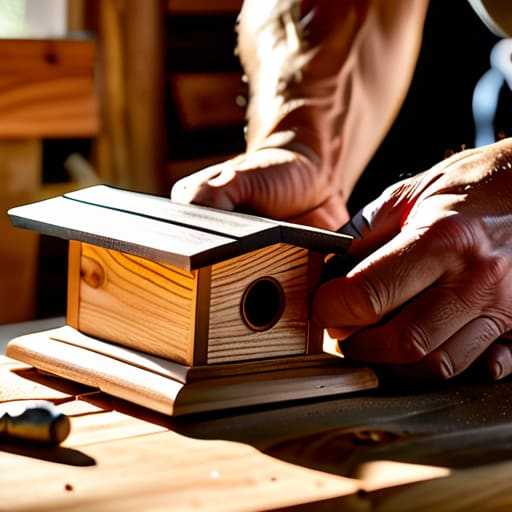
As you reach the final stages of your project, take a moment to reflect on the journey from selecting the right cedar to mastering those essential woodworking tools. Building a birdhouse isn’t just about following a set of blueprints; it’s about the intentional way you choose your materials and the mindful precision you apply to every cut. We’ve covered how the right wood ensures longevity and how having the proper tools can transform a stressful chore into a rhythmic, almost meditative experience. By focusing on these core elements, you haven’t just constructed a shelter for local birds; you’ve practiced the art of intentional craftsmanship that prioritizes quality over sheer speed.
At the end of the day, I hope this project reminds you that productivity isn’t about checking off a dozen tiny tasks, but about dedicating your energy to something that truly matters. Whether you are watching a pair of bluebirds move into their new home or simply admiring the grain of the wood you sanded by hand, remember that the value lies in the process itself. Don’t rush to the finish line just to say you’re done; instead, find your own rhythm and enjoy the quiet satisfaction of a job well done. You are building more than a birdhouse—you are building a habit of presence.
Frequently Asked Questions
How do I know which specific bird species I’m building for, and does the hole size really matter that much?
It actually matters immensely! Think of the entrance hole as a VIP pass; if it’s too large, predators or unwanted species will crash the party. If it’s too small, your feathered guests can’t get in. Before you pick up your saw, decide who your intended resident is. A bluebird needs a different “doorway” than a chickadee. Researching your local species first ensures you’re building a purposeful home, not just a wooden box.
I’m worried about the environmental impact—are there eco-friendly ways to seal or finish the wood without harming the birds?
I completely hear you on this—it’s so easy to get caught up in the “doing” and forget the “impact.” When we’re crafting something for nature, we have to respect it. I always recommend skipping the heavy chemical varnishes. Instead, try a simple food-grade linseed oil or a beeswax finish. They’re non-toxic, easy to apply, and let the wood breathe. It’s about creating a sanctuary that’s safe for them and kind to our planet.
Once the birdhouse is built, where is the most strategic place to hang it so it actually gets used?
Now that your birdhouse is ready, don’t just hang it anywhere and hope for the best. Think of it like scheduling your most important deep-work blocks—placement requires intention. Aim for a spot that’s at least five to ten feet off the ground to keep residents safe from predators. I personally love finding a quiet, semi-shaded corner that offers a sense of privacy; birds, much like us, thrive when they feel secure and undisturbed.
