I was standing in my kitchen last summer, staring at a pile of expensive subway tiles and a half-empty bag of grout, feeling completely paralyzed by the sheer scale of the mess. My mind was racing through a dozen different “what-if” scenarios, a classic case of decision fatigue that I usually see in my productivity clients. I realized then that most people approach a DIY project like this as a chaotic race against the clock, but that’s exactly where the stress lives. Learning how to tile a backsplash isn’t actually about having the steadiest hands in the world; it’s about mastering your mental approach and breaking the overwhelming chaos into small, intentional rhythms.
In this guide, I’m stripping away the intimidating jargon and the “expert” fluff to give you a streamlined, psychological roadmap to success. I’ll walk you through the essential prep work, the precise sequence of laying tile, and the little hacks I use to keep my workspace—and my mind—clutter-free. You aren’t just going to learn the mechanics of the job; you’re going to discover how to execute this project with intention, ensuring your kitchen feels like a sanctuary rather than a source of unfinished stress.
Table of Contents
- Step-by-Step Instructions
- Mastering Backsplash Layout Planning for a Balanced Space
- Selecting Meaningful Kitchen Backsplash Materials That Truly Last
- Small Adjustments for a Seamless Flow: My Top 5 Backsplash Pro-Tips
- Finding Your Flow: My Three Golden Rules for a Stress-Free Backsplash
- The Rhythm of the Tile
- The Beauty of a Finished Project
- Frequently Asked Questions
Guide Overview
Tools & Supplies
- Tile cutter or wet saw for shaping pieces
- Notched trowel for applying adhesive
- Rubber grout float for spreading grout
- Spacers to maintain even gaps
- Backsplash tiles (calculate area + 10% extra)
- Tile adhesive or mastic (1 bucket)
- Grout (1 bag)
- Tile sealer (1 bottle)
Step-by-Step Instructions
- 1. Before you even touch a single tile, you need to clear your mental and physical workspace. I always tell my clients that preparation is half the battle, so start by cleaning your kitchen walls thoroughly with a degreaser. Any lingering oil or dust will prevent your adhesive from bonding properly, and we want this project to last a lifetime, not just a season. Once the walls are pristine, lay down some drop cloths to protect your counters; your future self will thank you when cleanup time rolls around.
- 2. Now, let’s talk about the layout, which is where the psychology of “perfectionism” can sometimes trip us up. Instead of diving straight into the glue, grab your tiles and do a dry run on your counter. This allows you to see how the patterns interact and helps you decide where your cuts will fall. I personally like to start from the center of the most visible wall area and work my way out toward the edges, ensuring the most symmetrical look possible.
- 3. Once you’re happy with the visual flow, it’s time to get a little messy with your thin-set mortar. Using a notched trowel, apply a thin, even layer of adhesive to a small section of the wall—never more than you can tile in about ten minutes. You want to create consistent ridges with the trowel, which ensures that every tile has a solid foundation. If you apply too much at once, it might slide down the wall, and we’re aiming for intentional precision here.
- 4. As you press each tile into the mortar, give it a gentle twist to settle it into place and check your level constantly. I always keep a small spirit level handy because even a tiny tilt at the beginning can lead to a cascading error by the time you reach the cabinets. Don’t rush this phase; treat it like a mindfulness exercise, focusing on the tactile sensation of the tile meeting the wall. This is where your patience pays off in the final aesthetic.
- 5. After you’ve finished tiling, you’ll notice small gaps between the pieces—don’t panic, that’s exactly what the grout is for. Wait at least 24 hours for the mortar to cure completely before applying your grout. Mix it to a peanut butter consistency and use a rubber grout float to push the material into those crevices at a 45-degree angle. It’s a bit of a messy process, but it’s the secret to that seamless, professional finish we’re all striving for.
- 6. Once the grout has sat for about 15 to 20 minutes, take a slightly damp sponge and gently wipe away the excess from the tile surfaces. Be careful not to use too much water, or you might wash the grout right out of the joints! This step requires a steady hand and a bit of rhythm. Once the haze is gone, let everything dry completely, and you’ll have a beautiful, functional backsplash that serves as the heart of your kitchen.
Mastering Backsplash Layout Planning for a Balanced Space
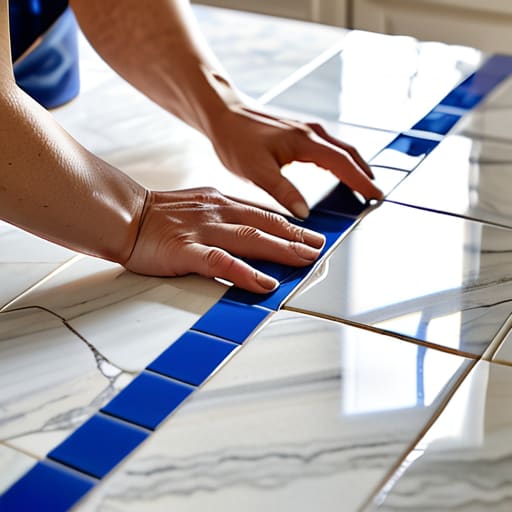
Before you even touch a trowel, I want you to take a breath and step back. I’ve found that most DIY stress doesn’t come from the physical labor, but from the mental clutter of a poorly planned space. When I’m working on a new project, I treat backsplash layout planning like a psychological blueprint; I’m not just placing ceramic, I’m mapping out the visual flow of the room. I always recommend laying your tiles out on a flat surface or even using painter’s tape on the wall first. This allows you to see exactly where those awkward, tiny slivers might end up at the corners. Trust me, avoiding those awkward cuts early on is the secret to a professional finish that feels intentional rather than accidental.
Once you have your pattern mapped out, don’t rush into the heavy lifting. I often keep a detailed tiling tools checklist nearby to ensure I’m not scrambling for a spacer mid-project, which is a total momentum killer. Remember, the goal is to create a sense of rhythm. Whether you are working with subway tiles or intricate mosaics, aim for a layout that feels balanced and calm. If you find yourself obsessing over a single millimeter, just flip over one of my vintage hourglasses and take a minute. Intentionality over perfection will always yield a more beautiful result.
Selecting Meaningful Kitchen Backsplash Materials That Truly Last
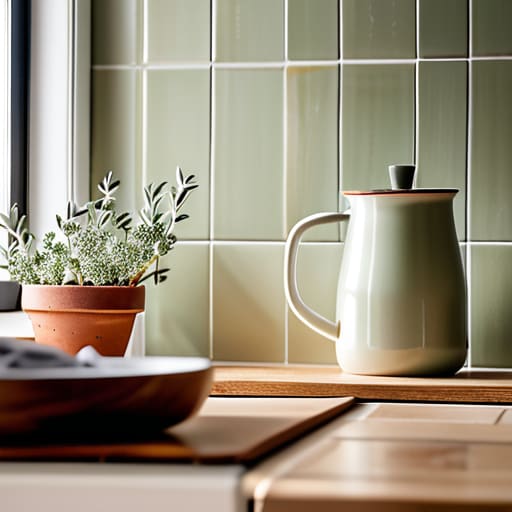
When I’m sitting at my desk with my bullet journal, mapping out a new project, I always remind myself that the foundation dictates the flow. The same applies to your kitchen. Choosing your kitchen backsplash materials isn’t just a decorative decision; it’s a psychological one. If you pick a high-maintenance marble that requires constant sealing, you’re inadvertently adding “decision fatigue” to your daily routine. I always suggest opting for materials that harmonize with your lifestyle—think durable ceramic or porcelain if you love hosting lively dinner parties where spills are inevitable.
Beyond the aesthetics, I want you to consider the longevity of your effort. It’s easy to get swept up in the excitement of a beautiful subway tile, but before you dive in, make sure your tiling tools checklist is complete and that you’ve accounted for the specific needs of your chosen medium. For instance, some heavy stone tiles require a much more robust approach to tile adhesive application than lightweight glass. By choosing materials that are both beautiful and resilient, you aren’t just renovating a room; you are investing in a space that supports your rhythm rather than disrupting it.
Small Adjustments for a Seamless Flow: My Top 5 Backsplash Pro-Tips
- Don’t let perfectionism paralyze you; instead, embrace the “dry lay” method by arranging your tiles on the counter first to see how the patterns dance together before you ever touch the mortar.
- Protect your mental headspace (and your kitchen) by investing in high-quality painter’s tape; a clean line is much easier to achieve when you aren’t fighting against messy edges halfway through the process.
- Remember that grout is more than just a filler—it’s the rhythm of your design—so choose a color that complements your tiles rather than one that fights for attention.
- Treat your spacing like a mindfulness exercise by using tile spacers religiously; consistent gaps are the secret to a backsplash that feels calm and intentional rather than chaotic.
- Always keep a damp sponge and a clean microfiber cloth within arm’s reach to wipe away excess grout immediately, because catching mistakes in the moment saves you from a mountain of stress later.
Finding Your Flow: My Three Golden Rules for a Stress-Free Backsplash
Prioritize intention over perfection; remember that choosing materials that resonate with your personal style is far more rewarding than chasing every fleeting design trend.
Respect the process by planning your layout meticulously before you ever touch a trowel, ensuring your physical space reflects the mental clarity you strive for.
View this project as a lesson in mindful momentum—break the technical steps into manageable rhythms so you can enjoy the transformation without feeling overwhelmed.
The Rhythm of the Tile
“Tiling a backsplash isn’t just a construction task; it’s a lesson in intentionality. When you stop rushing to fill the space and instead focus on the precision of every single grout line, you realize that the most beautiful results come from finding your flow within the process.”
Ella Thompson
The Beauty of a Finished Project
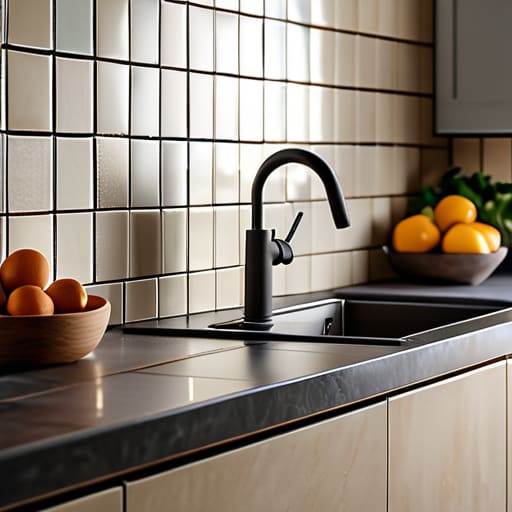
As you step back to look at your completed backsplash, remember that the process was about much more than just applying mortar and setting tiles. We’ve navigated the technicalities of layout, the precision of spacing, and the intentionality of material selection. By focusing on purposeful planning rather than just rushing to the finish line, you’ve ensured that this project isn’t just a cosmetic upgrade, but a lasting addition to your home. You didn’t just follow a set of instructions; you applied a disciplined approach to transforming your environment, one tile at a time.
I often find that my most rewarding moments aren’t when I finish a massive to-do list, but when I see the tangible results of a task done with intention. Tiling a backsplash can feel overwhelming, but much like managing a busy schedule, it’s all about finding your rhythm and staying present in the small, repetitive motions. I hope this project serves as a reminder that when we approach our tasks with mindful precision, we create something far more beautiful than just a functional surface. You’ve done the work, you’ve mastered the craft, and now it’s time to enjoy the space you’ve built.
Frequently Asked Questions
How do I know if my walls are actually level enough to start tiling, or am I setting myself up for a headache?
I’ve been there—staring at a wall, wondering if my eyes are playing tricks on me. Before you commit, grab a high-quality 4-foot level. Hold it against your wall; if that little bubble isn’t perfectly centered, you’ve got some work to do. Don’t just ignore it! If the wall is wonky, use a thin layer of setting material to compensate, or better yet, prep the surface first. Trust me, fixing it now saves a massive headache later.
What’s the best way to handle those tricky, awkward corners without making the whole backsplash look messy?
Dealing with awkward corners can feel overwhelming, like a cluttered to-do list staring you down. My advice? Embrace intentionality. Instead of forcing a tile to fit where it doesn’t belong, use a clean, vertical cut with a wet saw to maintain crisp lines. If a corner is truly unruly, consider a decorative transition piece or a subtle trim. It’s about finding a rhythm that respects the architecture rather than fighting against it.
How much grout should I realistically expect to use, and how do I prevent it from looking uneven once it dries?
Grout can feel like the most unpredictable part of the process, but don’t let it stress you out. Realistically, you’ll need about one bag for every 50-100 square feet, depending on your tile size. To avoid that dreaded uneven look, the secret is in the consistency—aim for a peanut butter texture. More importantly, use a rubber grout float at a 45-degree angle to pack it deep into the joints. This ensures a uniform, intentional finish.
