I was standing in the middle of my living room last Tuesday, staring at a blank, sterile white wall that felt more like a hospital corridor than a home, when I realized something profound. We often fall into the trap of thinking that decorating requires a massive budget or a hidden talent for fine arts, but that’s a total myth. The truth is, learning how to make wall art isn’t about mastering a paintbrush; it’s about intentionality. I spent years trying to “buy” a personality for my apartment, only to realize that the most meaningful spaces are the ones we actually touch and shape ourselves.
In this guide, I’m stripping away the fluff and the expensive Pinterest-perfect illusions to give you a realistic roadmap. I’ll show you how to approach the process through the lens of mindful creativity, focusing on simple, high-impact techniques that fit into a busy schedule. Whether you’re working with pressed botanicals or textured abstracts, you’ll learn how to create pieces that don’t just fill a gap on the wall, but actually reflect your unique rhythm and soul. Let’s stop decorating and start curating.
Table of Contents
- Step-by-Step Instructions
- Mastering Abstract Canvas Painting Techniques for Soulful Spaces
- Budget Friendly Wall Decor Projects for Mindful Living
- Beyond the Brush: 5 Intentional Tips for Creating Art That Sticks
- Making Art a Ritual, Not a Chore
- ## Intentionality Over Decoration
- Creating a Space That Speaks to You
- Frequently Asked Questions
Guide Overview
Tools & Supplies
- Paintbrush (various sizes for application)
- Palette knife (for texture creation)
- Pencil (for sketching designs)
- Canvas (1 piece, medium size)
- Acrylic paint (set of multiple colors)
- Gesso (1 bottle, for priming)
- Painter's tape (1 roll, for geometric patterns)
Step-by-Step Instructions
- 1. Before you even touch a paintbrush or a glue gun, I want you to sit down with your bullet journal and define your intention. Ask yourself: what feeling do I want this piece to evoke in my workspace? Since I view my environment as an extension of my mental state, I never start a project without knowing if I’m aiming for calming minimalism or high-energy inspiration. This prevents the dreaded “creative clutter” that can actually increase your cortisol levels.
- 2. Next, gather your supplies, but let’s do this with a focus on mindful selection. Instead of a chaotic pile of random craft scraps, curate a palette of materials that speak to your vision. Whether it’s high-quality textured paper, reclaimed wood, or even pressed botanicals from your morning walk, ensure everything you pick serves a specific purpose in the final composition.
- 3. Now, it’s time to sketch out your layout, and this is where your psychology background—or mine—really kicks in. Use a light pencil to map out the visual weight of your elements. I like to use the “rule of thirds” to ensure the piece feels balanced rather than overwhelming; a balanced piece of art leads to a more balanced mind when you glance at it during a stressful workday.
- 4. Begin the physical assembly phase, but here is my golden rule: embrace the process, not just the result. If you are layering textures or applying paint, don’t rush to the finish line. I often set one of my vintage hourglasses on my desk to remind myself to stay present in the tactile sensations of the work. This turns a simple DIY task into a form of active meditation.
- 5. Once your primary elements are set, step back—literally. Walk to the other side of the room to view your work from a distance. This shift in perspective is crucial for spotting compositional imbalances that you might miss when you’re hovering inches away from the canvas. It’s the same principle I use when auditing a client’s daily schedule; sometimes you need distance to see the truth.
- 6. Apply your finishing touches, such as a sealant or a frame, but do so with the intention of protecting your energy. A sturdy, beautiful frame doesn’t just hold the art; it signals to your brain that this piece—and the intention behind it—is something worth honoring and preserving.
- 7. Finally, find the perfect spot to hang your creation. Don’t just slap it on the nearest available wall; place it where your eyes will naturally rest during your intentional breaks. By placing your art in a high-visibility area, you turn your physical environment into a constant visual cue for the mindset you’re trying to cultivate.
Mastering Abstract Canvas Painting Techniques for Soulful Spaces
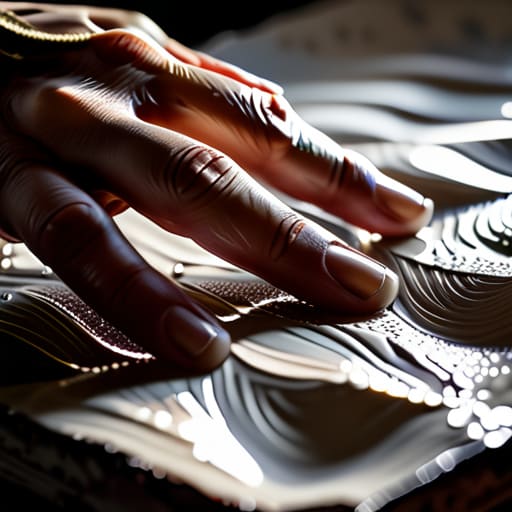
If you’re feeling a bit intimidated by the blank canvas, remember that abstraction is actually the perfect playground for letting go of perfectionism. I often tell my clients that some of the most impactful budget friendly wall decor projects come from simply leaning into the process rather than obsessing over the result. One of my favorite ways to add depth without needing a degree in fine arts is through a texture paste art tutorial. By applying thick layers of modeling paste with a palette knife, you create a tactile, three-dimensional surface that catches the light beautifully. This adds a sense of “soul” to a room that flat, store-bought prints just can’t replicate.
To take your work to the next level, don’t be afraid to experiment with mixed media art supplies. I love layering torn pieces of vintage paper or even dried botanicals under a thin wash of acrylic to create a sense of history and intention. This approach aligns perfectly with a minimalist home decor DIY mindset; you aren’t just adding “stuff” to your walls, you are creating a focal point that invites quiet reflection.
Budget Friendly Wall Decor Projects for Mindful Living
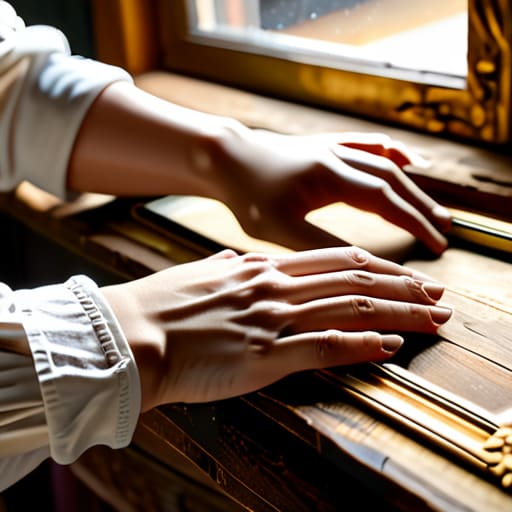
One of the biggest misconceptions I encounter in my consulting work is that creating a beautiful, intentional home requires a massive investment. In reality, some of the most soul-nourishing pieces come from budget friendly wall decor projects that prioritize creativity over cost. I often find myself turning to thrift stores for old, ornate frames or even discarded wooden boards. By repurposing these items, you aren’t just saving money; you’re practicing a form of mindful consumption that honors the history of the objects you bring into your sanctuary.
If you’re feeling a bit stuck, I highly recommend experimenting with minimalist home decor DIY projects that focus on tactile sensations. You don’t need expensive oils to create something breathtaking. Instead, try playing with simple elements like dried botanicals, textured paper, or even a bit of clay to add dimension. Using a few basic mixed media art supplies can turn a plain piece of cardstock into a meditative centerpiece. For me, the magic lies in the process—the way the glue feels or the way colors bleed together—rather than the final price tag.
Beyond the Brush: 5 Intentional Tips for Creating Art That Sticks
- Start with your “why” before you touch a single tool; ask yourself if you want this piece to energize your morning coffee routine or provide a sense of calm during your evening wind-down.
- Don’t let perfectionism paralyze your process, because a “flaw” in a handmade piece is often where the soul and character actually live.
- Curate your color palette based on the psychological mood you want to evoke in the room, rather than just following whatever happens to be trending on Pinterest.
- Think about the tactile experience by experimenting with mixed media—adding texture through fabric or layered paper can turn a flat image into a sensory experience.
- Use your space as a testing ground by using painter’s tape to mock up the size and placement of your art before you commit to a permanent spot on the wall.
Making Art a Ritual, Not a Chore
Remember that your wall art should be an extension of your intention; don’t just fill empty spaces, but choose pieces that actually resonate with the rhythm of your life.
Use the creative process as a mindfulness tool—whether you’re layering abstract paint or upcycling old frames, focus on the tactile experience rather than just the final product.
Prioritize meaningfulness over perfection by starting small with budget-friendly projects, allowing you to build a collection that reflects your personal evolution without the stress of a massive overhaul.
## Intentionality Over Decoration
“When you’re creating wall art, remember that you aren’t just filling empty space; you’re curating the visual rhythm of your life. Don’t just hang something because it’s pretty—choose pieces that ground you and remind you of what truly matters every time you walk past them.”
Ella Thompson
Creating a Space That Speaks to You
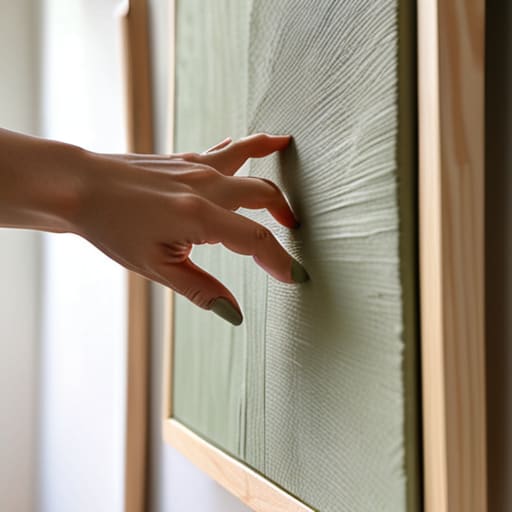
As we wrap up this journey of transforming blank walls into personal sanctuaries, remember that the process is just as vital as the final product. Whether you found inspiration in mastering abstract canvas techniques or discovered the joy of a budget-friendly DIY project, the goal remains the same: to surround yourself with pieces that resonate with your internal world. We’ve explored how to move beyond mere decoration and instead focus on intentional creation, ensuring that every brushstroke or curated frame serves a purpose. By integrating these creative outlets into your routine, you aren’t just decorating a room; you are actively designing an environment that supports your mental well-being and reflects your unique journey.
At the end of the day, don’t let the pursuit of perfection paralyze your creativity. I often turn to my vintage hourglasses when I feel overwhelmed by a project, reminding myself that beauty often lies in the flow of the process rather than a flawless result. Your home should be a living, breathing extension of your soul, not a showroom of sterile perfection. I encourage you to step into your creative space with curiosity and kindness toward yourself. Believe that you have the power to shape your surroundings to foster peace, and remember that every piece of art you make is a beautiful step toward living more intentionally.
Frequently Asked Questions
How do I choose the right scale and size so my DIY art doesn't look lost on a large wall?
I’ve definitely been there—staring at a massive, empty wall only to realize my DIY piece looks like a tiny postage stamp in a canyon. To avoid that “lost” feeling, I always use the 2/3 rule: your art should occupy roughly two-thirds to three-quarters of the available wall space. If you’re working with a smaller piece, don’t panic! Create a gallery wall or use a large, intentional frame to give it the visual weight it deserves.
What are some ways to incorporate my personal style into my art without it feeling cluttered or overwhelming?
I always tell my clients that “more” isn’t better; “intentional” is better. To avoid that overwhelming feeling, I recommend choosing a single “anchor” element—perhaps a specific color palette or a recurring geometric shape—to tie your pieces together. Think of it like my bullet journaling: I use consistent layouts so my creativity doesn’t turn into chaos. Pick one personal motif and let it breathe. When your art shares a common thread, it feels like a curated collection rather than clutter.
Once I've finished my piece, what's the best way to hang it securely without damaging my walls or ruining the aesthetic?
Now that your masterpiece is finished, let’s talk about the final ritual: bringing it to life on your walls. I always say, don’t let the fear of a tiny nail hole stall your momentum! For lightweight pieces, I swear by Command strips—they’re a lifesaver for preserving your rental or your paint job. For heavier canvases, invest in a sturdy picture hanger. Always eye-level is the golden rule; it creates that sense of intentionality we’re striving for.
