I was staring at a battered, mid-century side table I’d rescued from a thrift store, feeling that familiar wave of overwhelm, when I realized I was looking at it all wrong. Most people approach a project like this as a race to the finish line, thinking that knowing how to refinish furniture is just about how fast you can sand away the old lacquer. But after years of studying human behavior and how we approach complex tasks, I’ve learned that the frantic rush is exactly what leads to those dreaded, uneven finishes and wasted afternoons. It’s not a chore to be conquered; it’s a rhythmic process of restoration that requires you to slow down and actually listen to the material.
In this guide, I’m stripping away the complicated jargon and the “miracle” product hype to give you a realistic, psychology-backed roadmap. I’ll walk you through the essential steps of preparation, stripping, and staining, focusing on how to maintain your mental momentum so you don’t abandon the project halfway through. You aren’t just going to learn the technicalities of how to refinish furniture; you’re going to learn how to approach your craft with intention, ensuring every piece you touch becomes a testament to your patience and skill.
Table of Contents
- Step-by-Step Instructions
- Mastering Wood Stripping Techniques for a Fresh Start
- Precision Through a Detailed Furniture Sanding Grits Guide
- Beyond the Sandpaper: 5 Mindful Habits for a Flawless Finish
- Embracing the Rhythm of Restoration
- The Psychology of the Process
- The Final Polish: Finding Beauty in the Process
- Frequently Asked Questions
Guide Overview
Tools & Supplies
- Sandpaper (various grits for smoothing)
- Screwdriver (to remove hardware)
- Paintbrush or Foam roller (for even application)
- Tack cloth (to remove dust)
- Wood filler (small container for dents)
- Primer (1 quart for base coat)
- Paint or Stain (1 quart for finish)
- Denatured alcohol or Mineral spirits (small amount for cleaning)
Step-by-Step Instructions
- 1. Before you even touch a piece of sandpaper, you need to clear your mental and physical space. I always tell my clients that a cluttered workspace leads to a cluttered mind, so set up a well-ventilated area and gather all your supplies—sandpaper, tack cloths, brushes, and finish—before you begin. This prevents that frantic, mid-project search for a tool that can completely derail your flow.
- 2. Start by stripping away the old life of the piece. Depending on what you’re working with, you’ll either use a chemical stripper or jump straight into sanding. If you’re sanding, start with a lower grit to aggressively remove the old varnish. Remember, the goal here isn’t speed; it’s about respecting the wood beneath the surface by ensuring you don’t sand through the veneer or damage the grain.
- 3. Once the old finish is gone, it’s time for the “refining” phase. Switch to a higher grit sandpaper—something around 220—and sand in the direction of the grain. I find that this is the perfect time to practice a bit of mindfulness; instead of rushing to the finish line, focus on the rhythmic motion of the sanding. This step is crucial because any unevenness here will show up vividly once you apply your stain.
- 4. Now comes the part most people skip, but it’s actually the most important: cleaning. Use a tack cloth or a slightly damp lint-free rag to remove every single microscopic speck of dust. I like to think of this as the “reset” moment. If you leave dust behind, your new finish will feel gritty rather than smooth, and we want this process to be a seamless transformation, not a frustrating lesson in texture.
- 5. If you’re looking to change the color, apply your stain with a rag or a foam brush, working in small, controlled sections. Don’t overwork it; once you apply the stain, let it sit for the recommended time and then wipe away the excess. I’ve learned through my own projects that less is often more when it comes to pigment, as you can always add more layers, but it’s much harder to take them away.
- 6. Finally, it’s time to seal in your hard work with a topcoat, like polyurethane or a wax finish. Apply thin, even layers rather than one thick, gloopy one. This protects the wood and gives it that professional glow. As you apply the final coat, take a breath and appreciate the journey from a discarded relic to something beautiful; you’ve successfully reclaimed something meaningful through intention and patience.
Mastering Wood Stripping Techniques for a Fresh Start
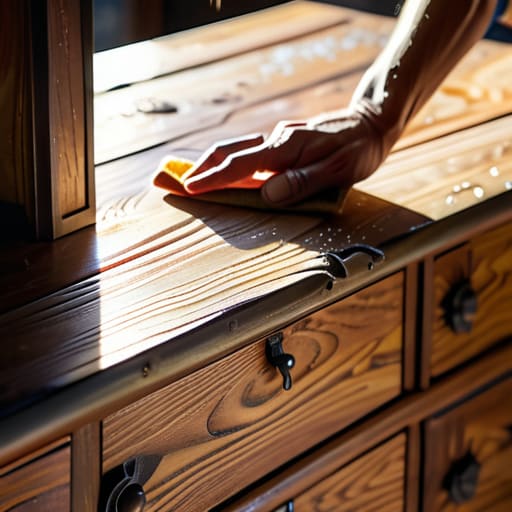
I’ve always found that the stripping phase is where most people lose their momentum, but I see it as the most meditative part of the process. It’s where you truly strip away the old version of an object to reveal its soul. When you’re exploring different wood stripping techniques, don’t feel pressured to rush through it just to get to the “fun” part. If you’re dealing with layers of heavy, aged finish, I highly recommend using a chemical stripper rather than just aggressive sanding. Sanding through thick layers of old varnish can actually clog your sandpaper instantly and, more importantly, it can heat up the wood and cause uneven damage. Taking the time to let the chemicals do the heavy lifting is a lesson in patience and intentionality.
Once the surface is clear, your focus must shift entirely to wood grain preparation. This is the bridge between the raw wood and the beautiful finish you’ve envisioned. I always tell my clients that the secret to a professional look isn’t in the expensive stain, but in how smoothly you’ve prepped the surface. If you skip the meticulous cleaning of the pores after stripping, you’ll end up with a finish that looks blotchy and frustrated. Think of it as setting the foundation for everything that follows; you wouldn’t build a house on uneven ground, so don’t ask your wood to hold a finish it isn’t ready for.
Precision Through a Detailed Furniture Sanding Grits Guide
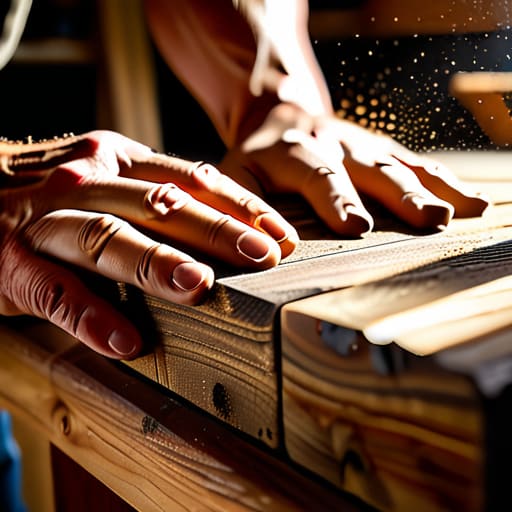
Once you’ve moved past the heavy lifting of removing old varnish, you’ll reach a stage that requires a different kind of mental presence: the sanding. I often tell my clients that this is where the “flow state” happens. If you rush through your furniture sanding grits guide, you’re essentially building a house on sand. You can’t skip steps here. I always start with a lower grit—around 80 or 100—to level out any stubborn imperfections left behind by your initial stripping. It feels aggressive, but it’s necessary to create a truly level canvas.
As you progress, the goal is to transition through the grits (120, 150, and finally 220) with intentionality and patience. Think of it as a meditative process; you aren’t just smoothing wood, you are performing essential wood grain preparation. If you jump from a coarse grit straight to a fine one, you’ll leave microscopic scratches that will scream for attention the moment you apply a finish. Taking that extra time now ensures that your final product looks professional and, more importantly, feels like a seamless extension of the wood itself.
Beyond the Sandpaper: 5 Mindful Habits for a Flawless Finish
- Curate your workspace before you start; I’ve found that a cluttered environment leads to a cluttered process, so clear your desk and set up your supplies in an organized way to prevent mid-project decision fatigue.
- Respect the wood’s history by testing your stain on a hidden area first; just like we shouldn’t rush into big life changes without testing the waters, you need to see how the grain reacts to your chosen color before committing.
- Embrace the “slow productivity” approach with your topcoat; it is incredibly tempting to rush through three layers in one afternoon, but patience is your best friend if you want to avoid those frustrating bubbles and uneven textures.
- Use your senses to check for imperfections; don’t just rely on your eyes—run your hands over the surface to feel for tiny bumps or missed spots that your vision might overlook during a long session.
- Schedule your finishing touches around your natural energy rhythms; if you know you get restless by 4:00 PM, don’t attempt a precision staining task then—save the more meditative, repetitive tasks for when your focus starts to dip.
Embracing the Rhythm of Restoration
Don’t rush the process; treat the stripping and sanding stages as a meditative practice rather than a chore, because the quality of your finish is directly tied to the patience you invest in the prep work.
Remember that precision is your best friend—moving through your sandpaper grits with intention prevents the frustration of having to backtrack and redo a step you thought was finished.
View furniture refinishing as a lesson in mindful transformation, where the goal isn’t just a shiny new surface, but the satisfaction of having channeled your focus into something tangible and beautiful.
The Psychology of the Process
“Refinishing a piece of furniture isn’t just a DIY project; it’s a lesson in patience and presence. When you strip away the old layers, you aren’t just preparing a surface—you’re learning to honor the history of the wood while intentionally creating space for something new to breathe.”
Ella Thompson
The Final Polish: Finding Beauty in the Process
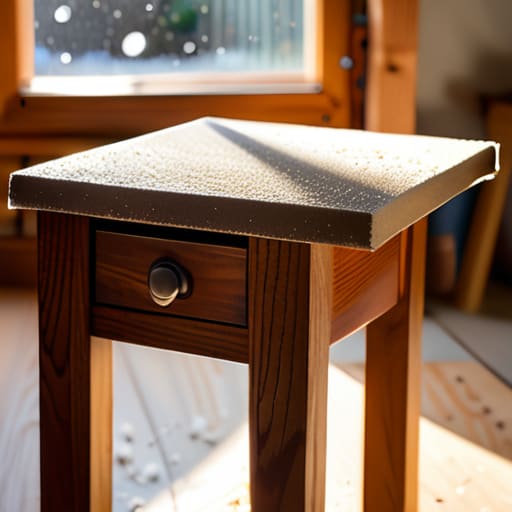
As you step back to look at your finished piece, remember that the journey from a worn-out relic to a centerpiece was paved with patience. We’ve covered everything from the heavy lifting of stripping away old, stubborn finishes to the meditative precision of sanding through various grits to reveal the wood’s true character. It wasn’t just about the tools or the chemical strippers; it was about the intentionality you brought to every layer. By mastering these technical steps—stripping, sanding, and prepping—you haven’t just restored a piece of furniture; you have successfully navigated a complex project from start to finish, proving that even the most daunting tasks are manageable when broken down into mindful increments.
At the end of the day, refinishing furniture is a lot like how I approach my productivity philosophy: it’s not about the speed of the transformation, but the quality of the effort. There is a profound sense of peace that comes from working with your hands and seeing a tangible result of your focus. I hope this project serves as a reminder that you have the power to reclaim and renew whatever is in your life, whether it’s a vintage side table or a tired daily routine. Don’t be afraid to get your hands a little dusty; that’s where the most beautiful growth happens.
Frequently Asked Questions
How do I know if the wood I'm working with is actually worth the effort of refinishing, or if it's better to just repurpose it?
Before you dive into the sanding, take a breath and look closer. I always tell my clients to audit their energy before their tasks. If it’s solid hardwood—oak, walnut, or cherry—it’s worth the investment of your time. But if it’s particle board or thin veneer, the “ROI” on your effort just isn’t there. If the soul of the piece is gone, don’t force it; repurpose it instead.
I'm worried about the fumes—what are some ways to manage the psychological stress and physical discomfort of working with heavy-duty strippers in a small space?
I completely hear you—that heavy, chemical scent can trigger a real sense of anxiety, making it hard to stay present. To manage the stress, I recommend the “sensory swap” method: keep a window cracked for airflow and use a peppermint essential oil roller on your wrists to ground yourself. Physically, prioritize a high-quality respirator; knowing you’re protected helps quiet that subconscious “danger” signal in your brain, allowing you to focus on the craft.
Once I've finished all that meticulous sanding, how do I choose a finish that won't just undo all my hard work in a few months?
Choosing a finish is where your patience finally meets your vision. I always tell my clients: don’t just pick what looks pretty on the swatch; consider the piece’s “lifestyle.” If it’s a busy dining table, you need the durability of a poly столе or a hard-wearing oil. If it’s a decorative shelf, a delicate wax might suffice. Match the protection level to the usage, and you’ll preserve that beautiful grain you worked so hard to reveal.
